# Connect Bitbucket Data Center
Aikido lets you connect Bitbucket Data Center to scan your repositories.
#### Step 1. Sign in to Aikido
Log in to Aikido with **Google** or **Microsoft**.
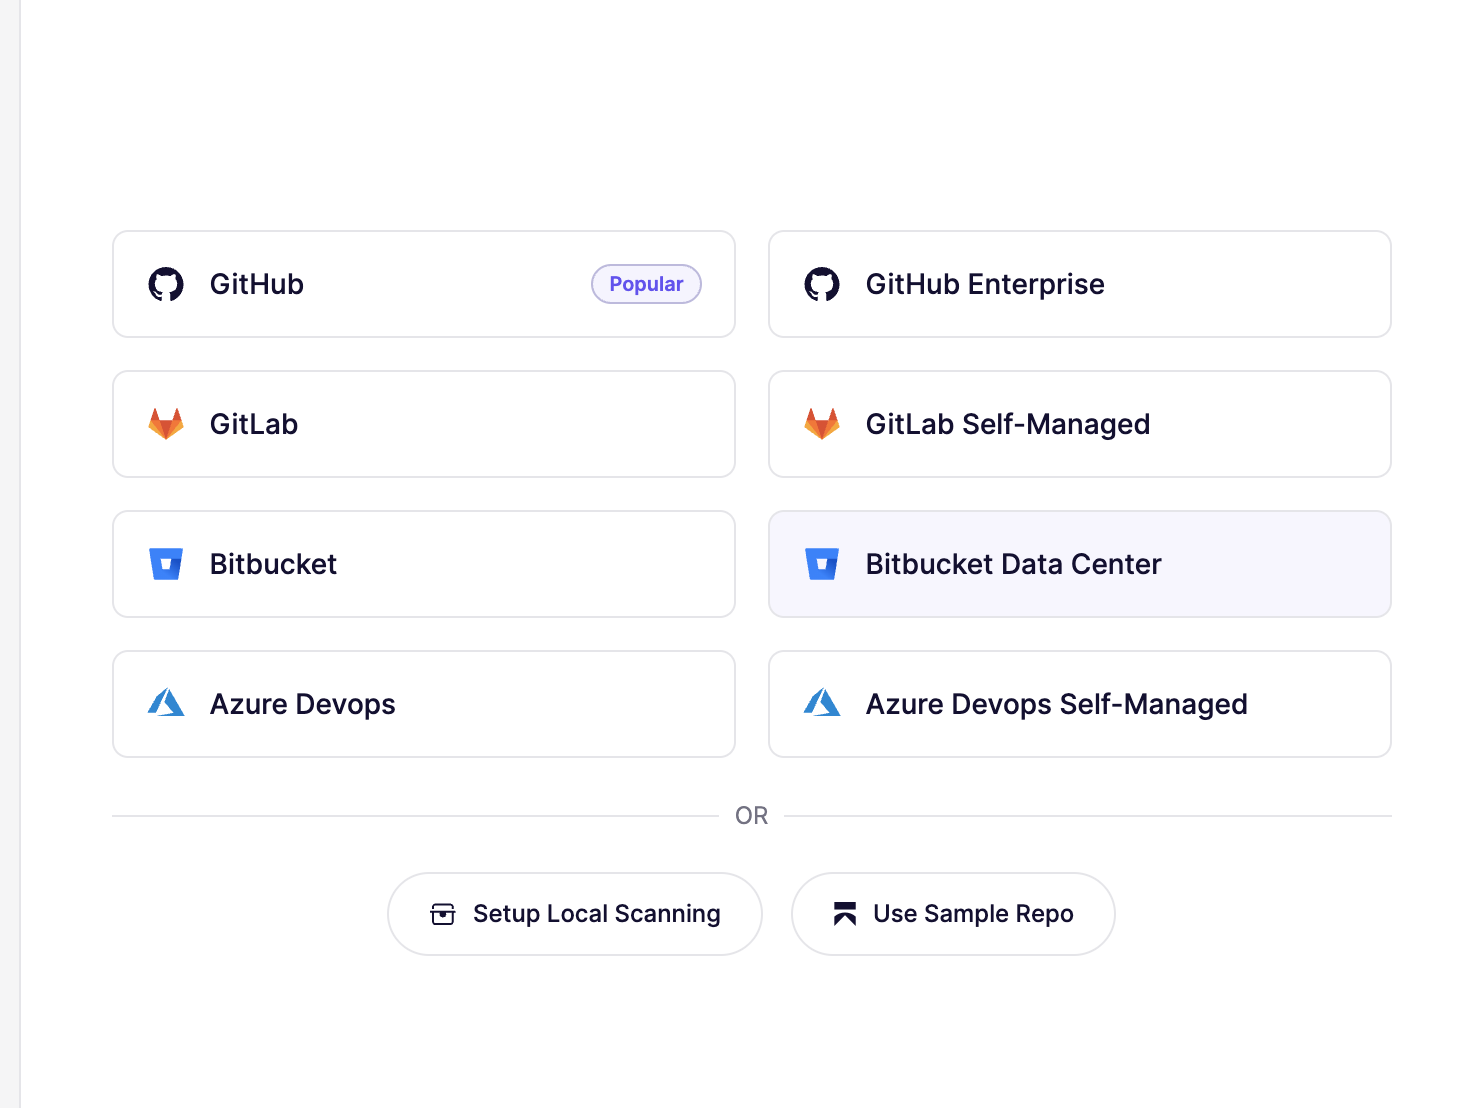
#### Step 2. Choose Bitbucket Data Center
On the SCM selection screen, choose **Bitbucket Data Center**.
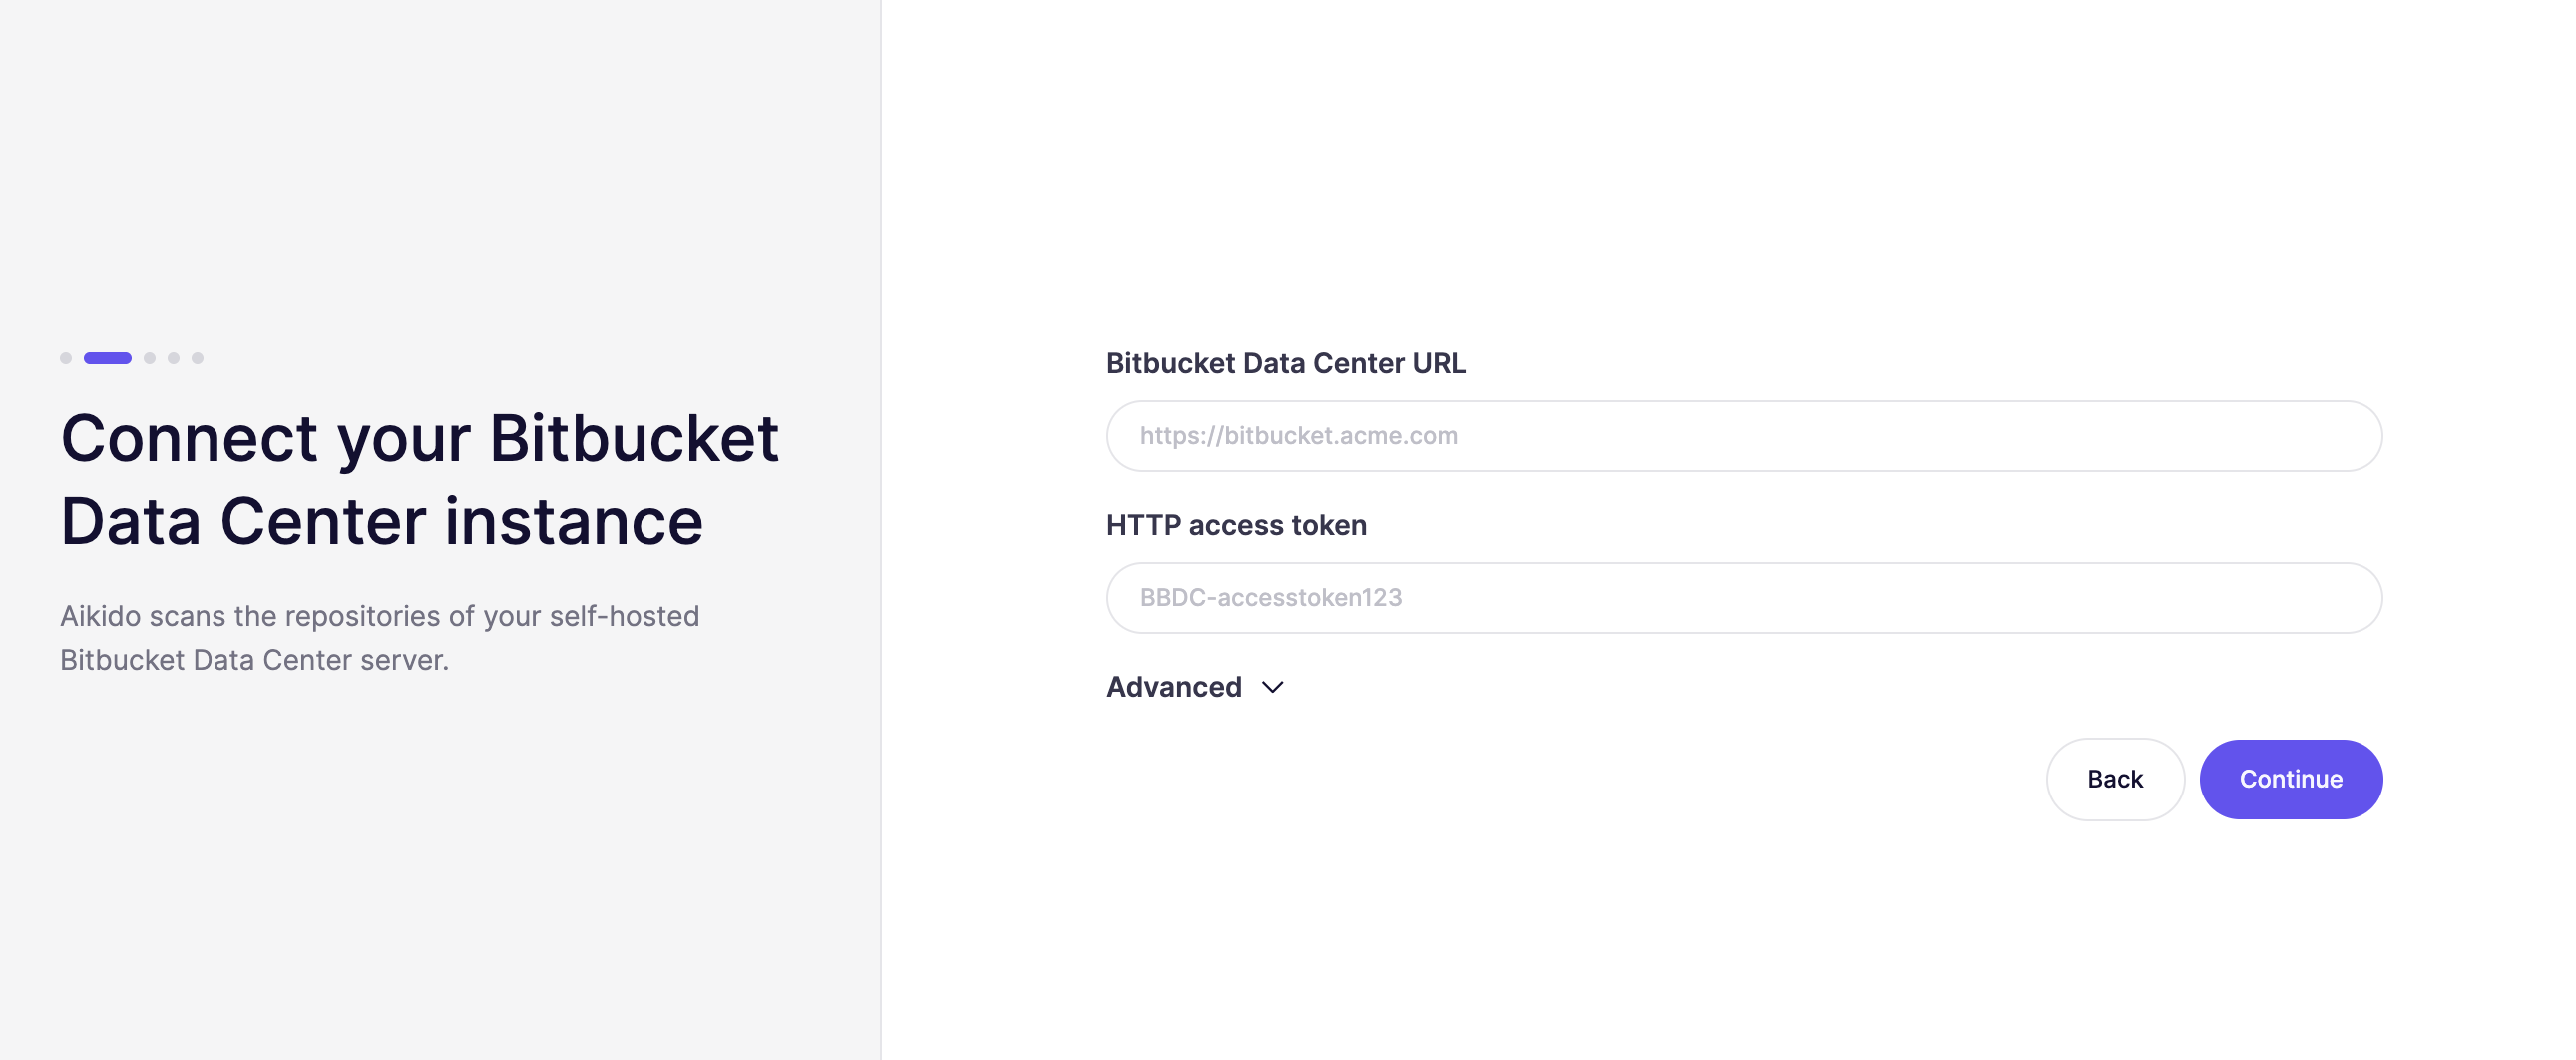
#### Step 3. Add your Bitbucket details
Enter your `Bitbucket Data Center URL` and `HTTP access token`.
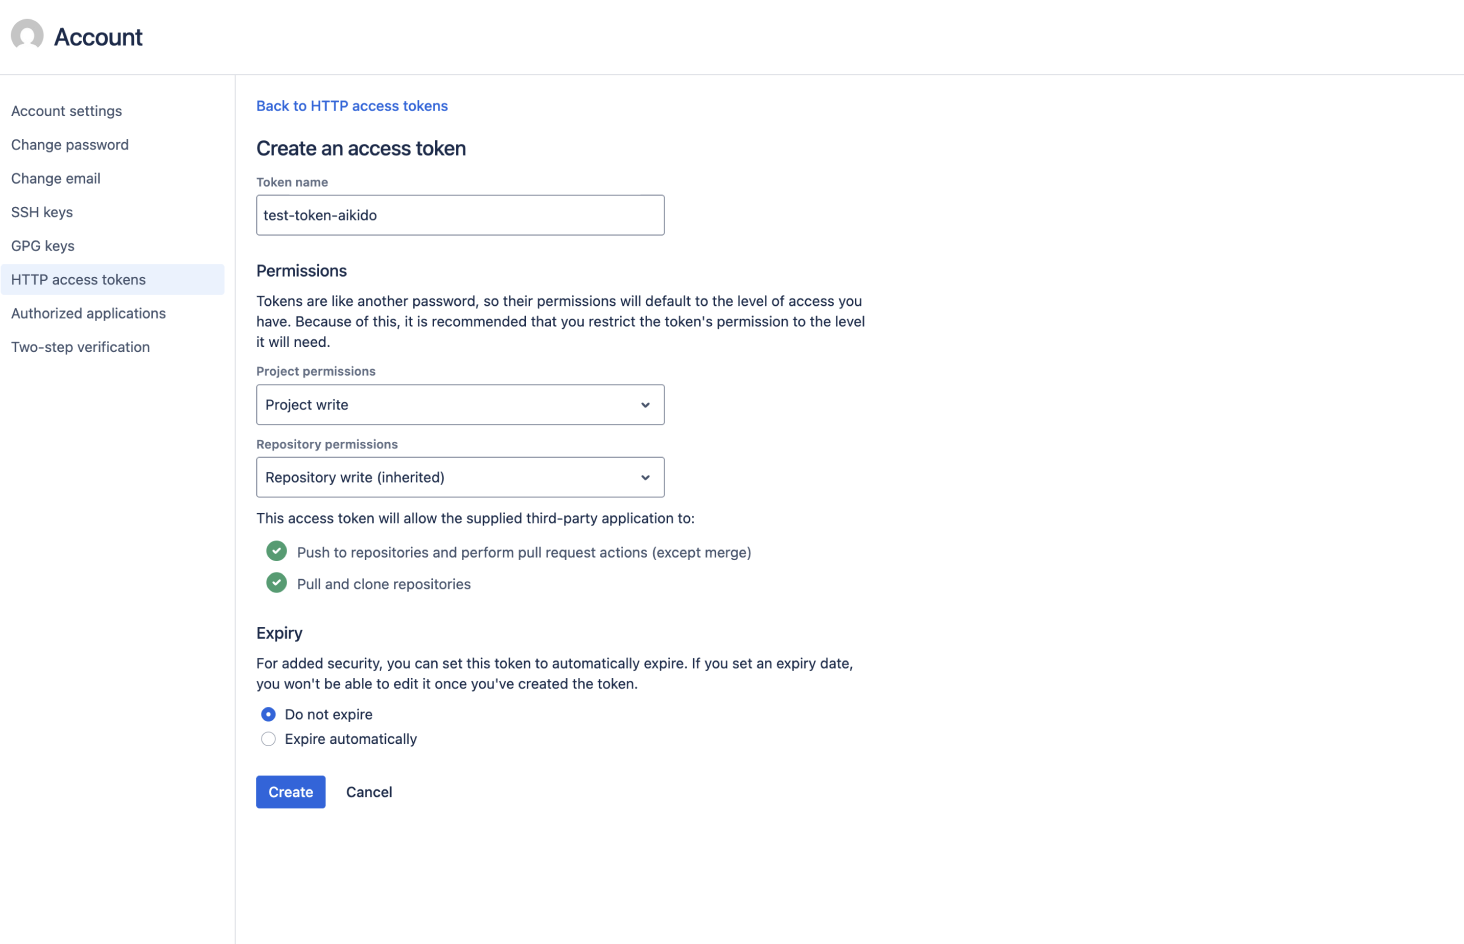
You can find the `HTTP access token` under **Profile** → **Manage account** → **HTTP access tokens** → **Create token**.
**Required token permissions**
Aikido requests the following token permissions for your Bitbucket on-premises instance:
* **Project:** Write
* **Repository:** Write
**Why Write access?**
Write access is required to support the full Aikido feature set, including AutoFix (creating merge-ready PRs) and PR checks (posting status checks and comments on pull requests).
**If you only need scanning**
If your team only uses Aikido for repository scanning and AI Pentesting, **Read permissions** are sufficient. You can configure a token with Read-only access and all scanning functionality will work as expected.
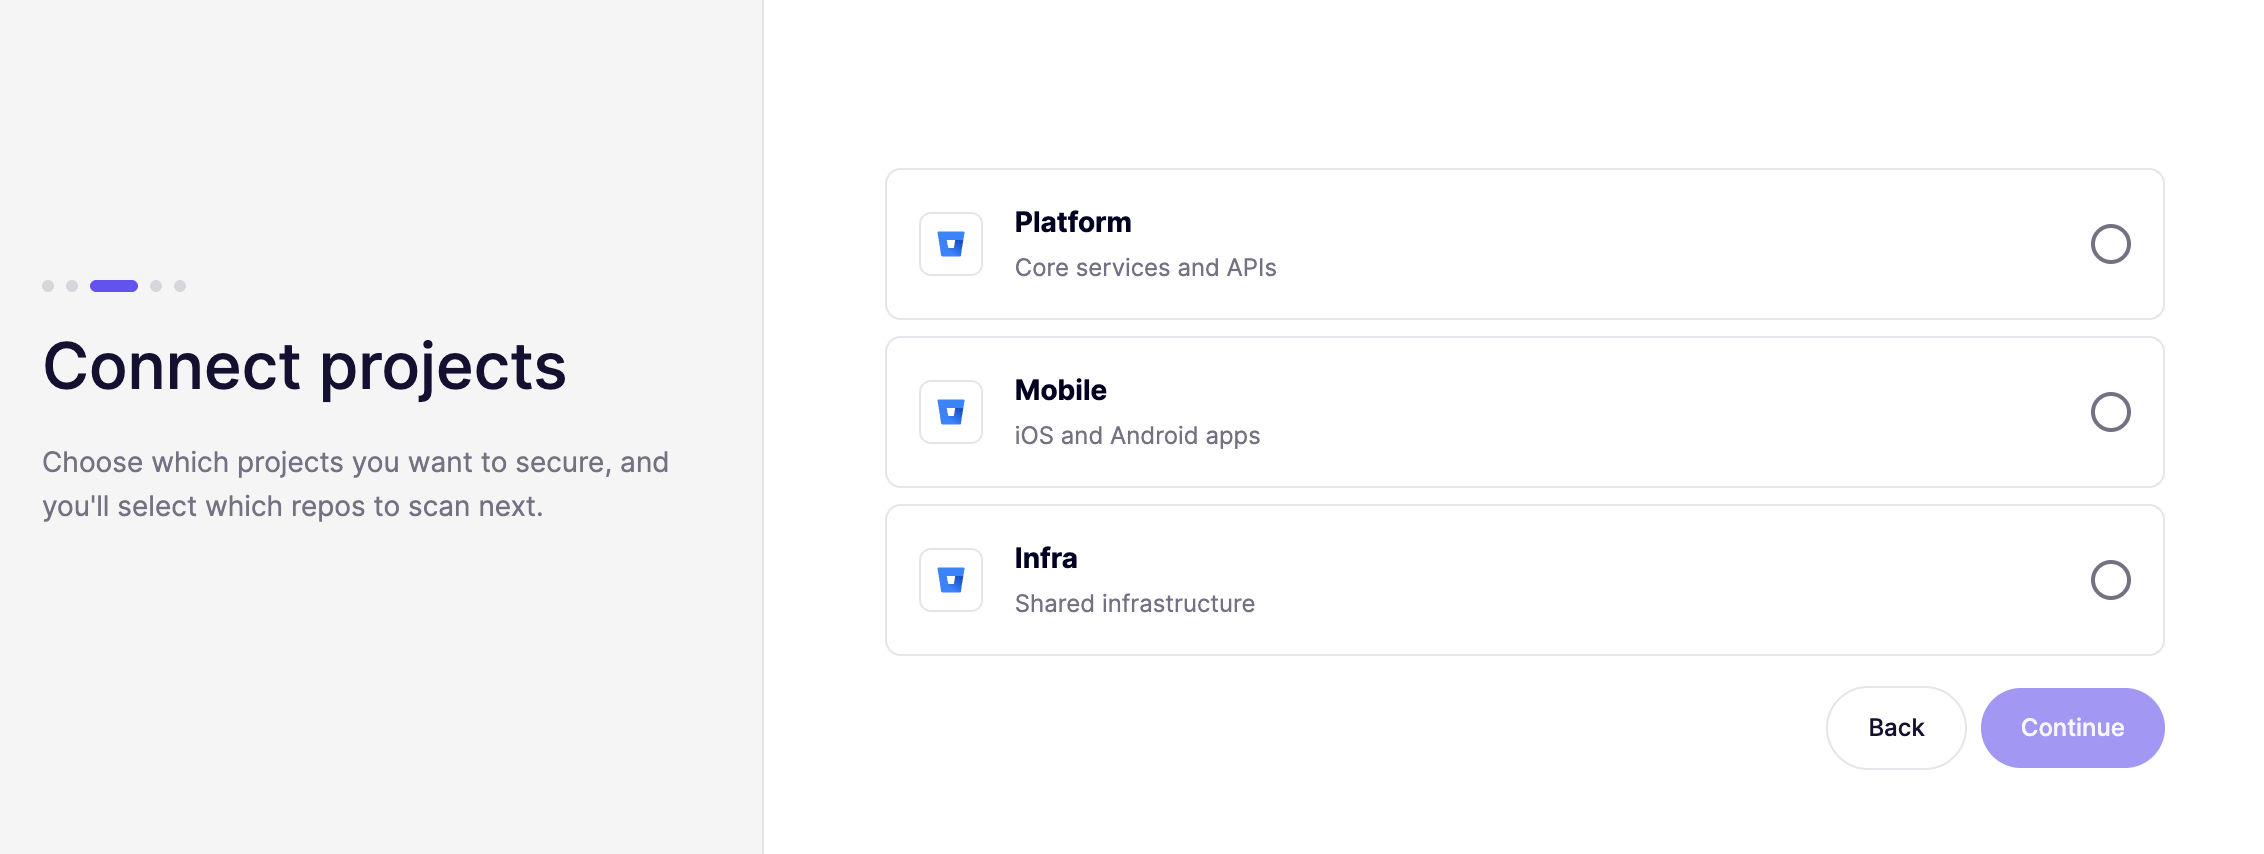
#### Step 4. Select a project
Choose the Bitbucket project you want to connect.
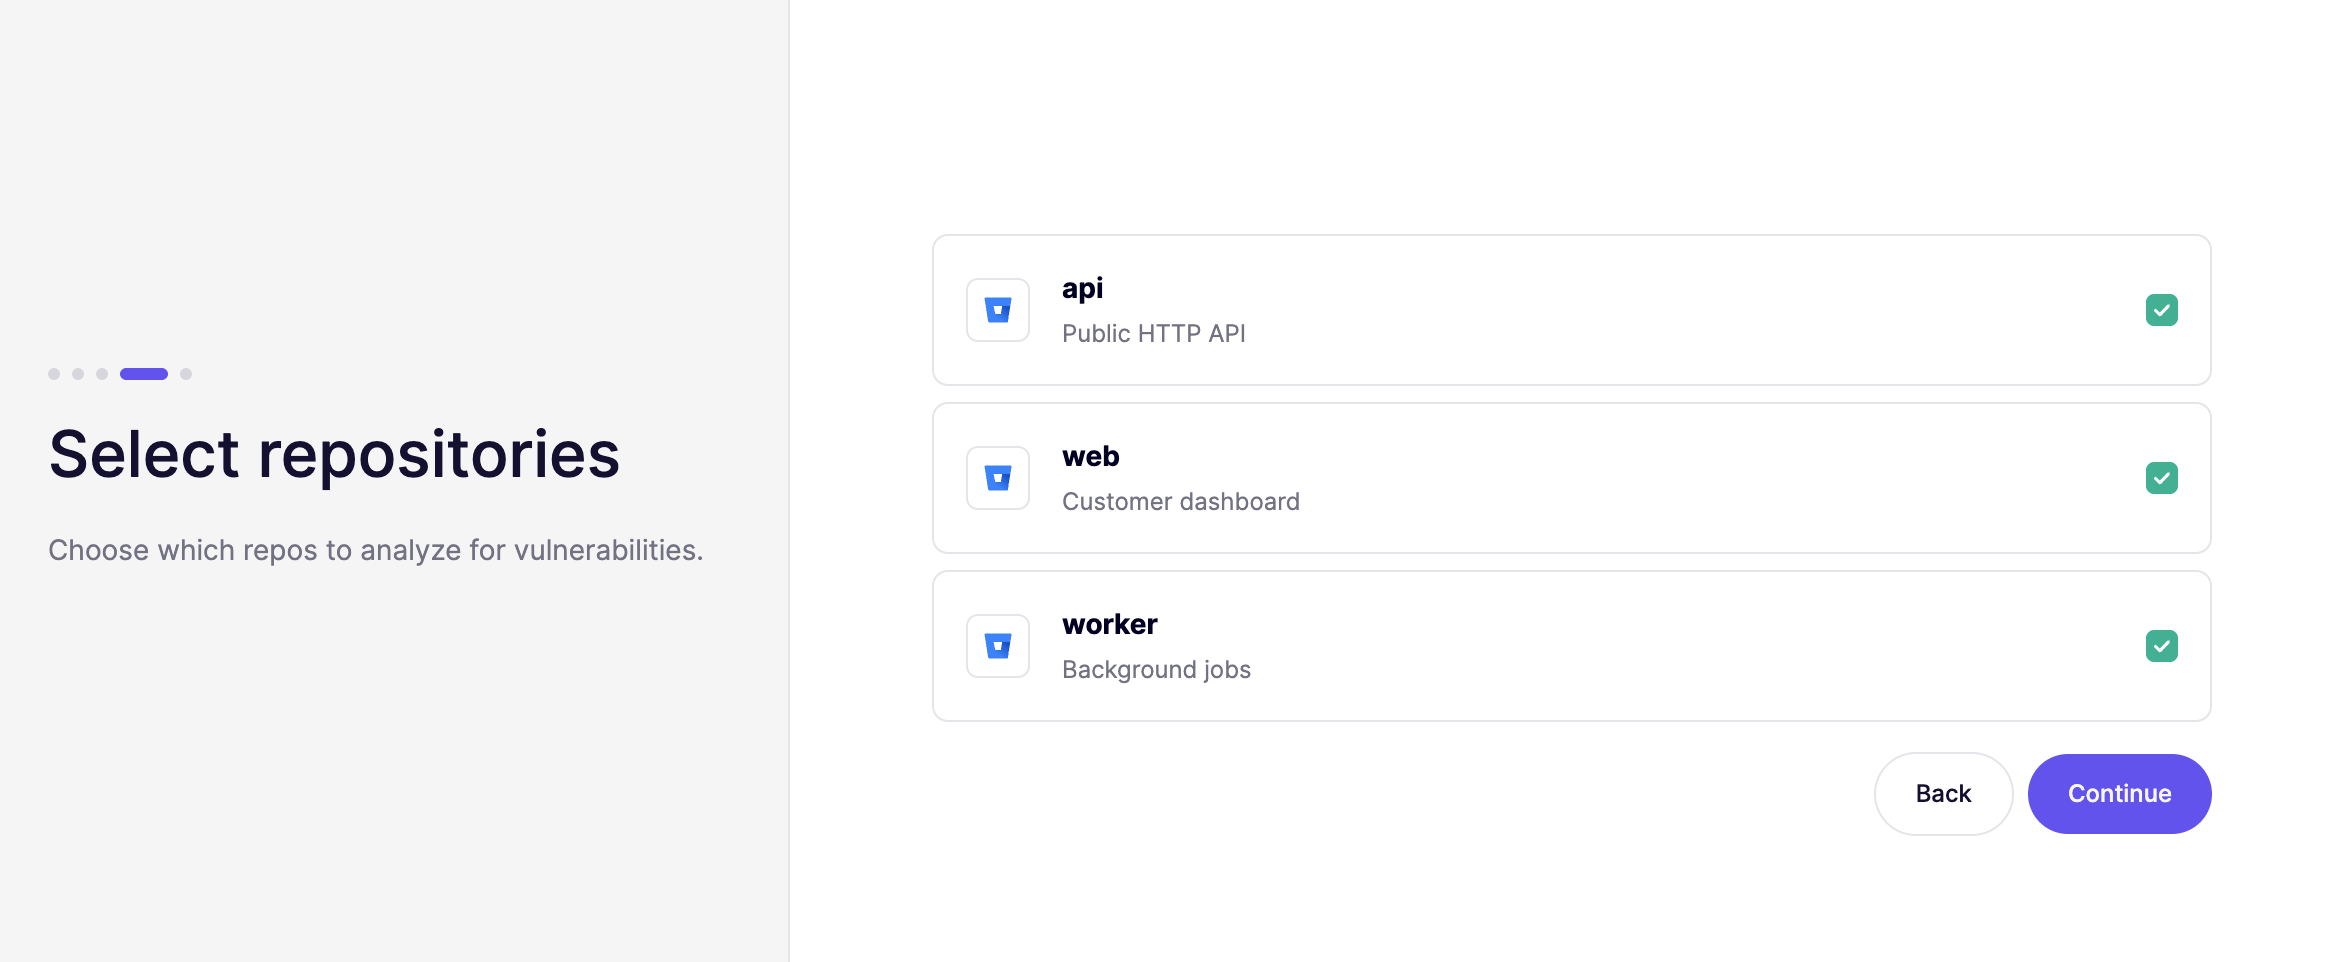
#### Step 5. Select repositories and finish
Choose the repositories you want Aikido to scan.
Finish the setup to start scanning.