# Connect Bitbucket Data Center (Broker Set-Up)
Aikido lets you connect a self-managed Bitbucket instance to scan and secure your code. Follow the steps below to connect your Bitbucket Data Center instance to Aikido.
### Before you start
* The person setting this up needs access to both the Bitbucket Data Center instance **and** the Bitbucket project you want to connect.
## Configuration
{% stepper %}
{% step %}
**Create an Aikido account**
To connect your Bitbucket Data Center instance, first sign up or log in to Aikido using Google or Microsoft. On the [signup screen](https://app.aikido.dev/login), click **Google / Microsoft**.
{% endstep %}
{% step %}
**Start the Bitbucket Data Center setup**
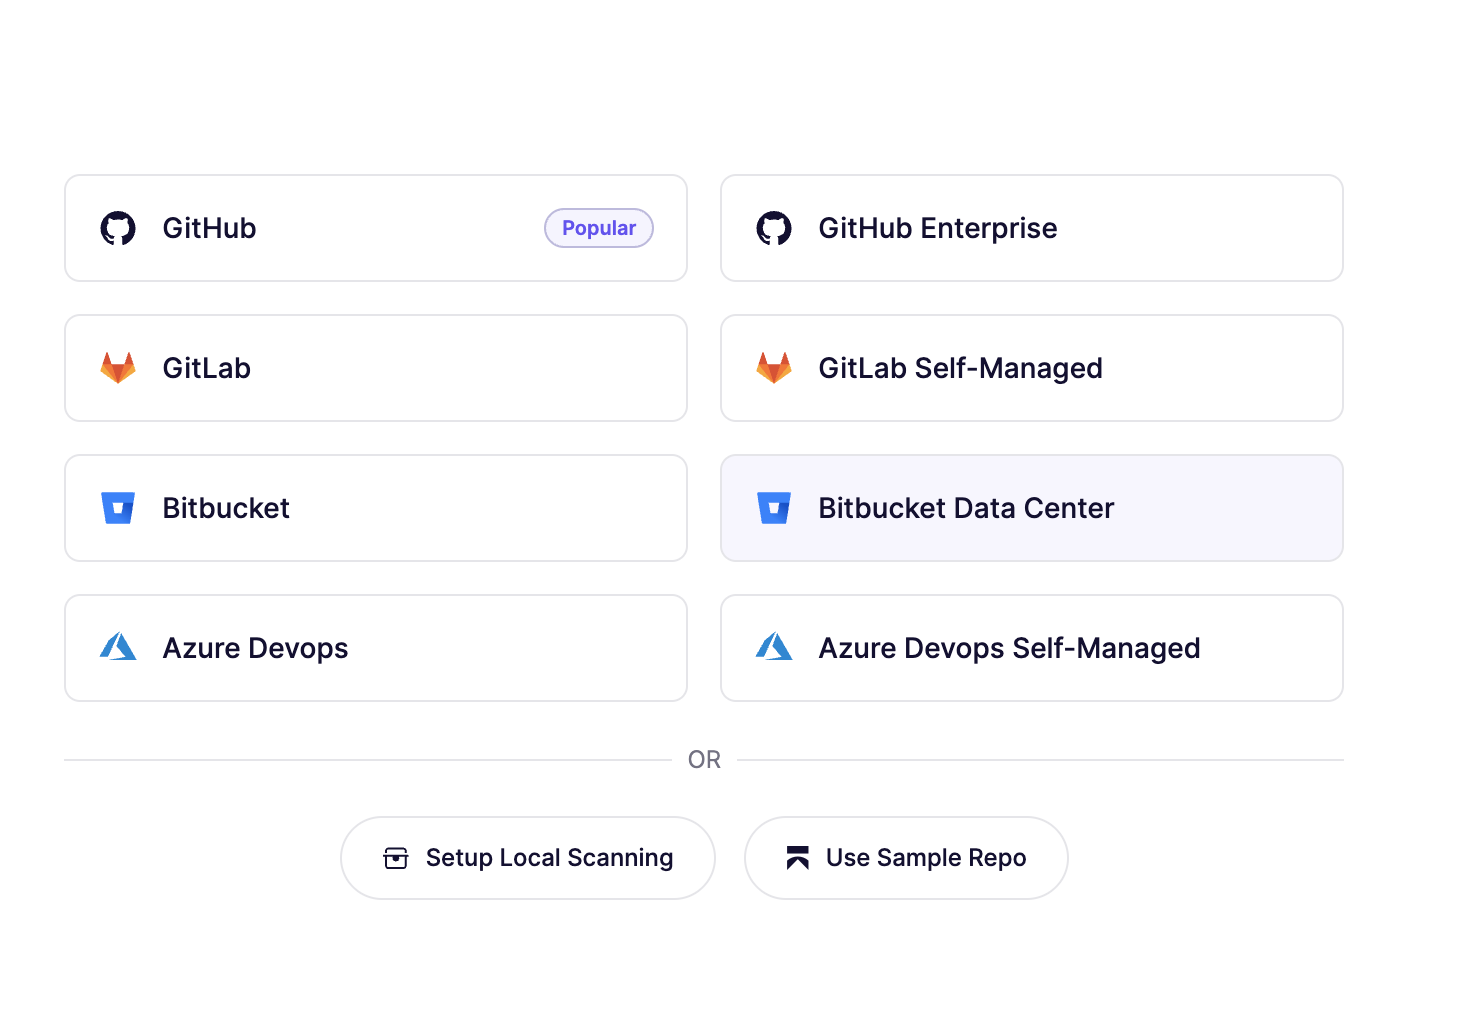
Once you’re authenticated, create a new workspace by clicking **Bitbucket Data Center** in the Bitbucket section.
{% endstep %}
{% step %}
**Enable Broker access**
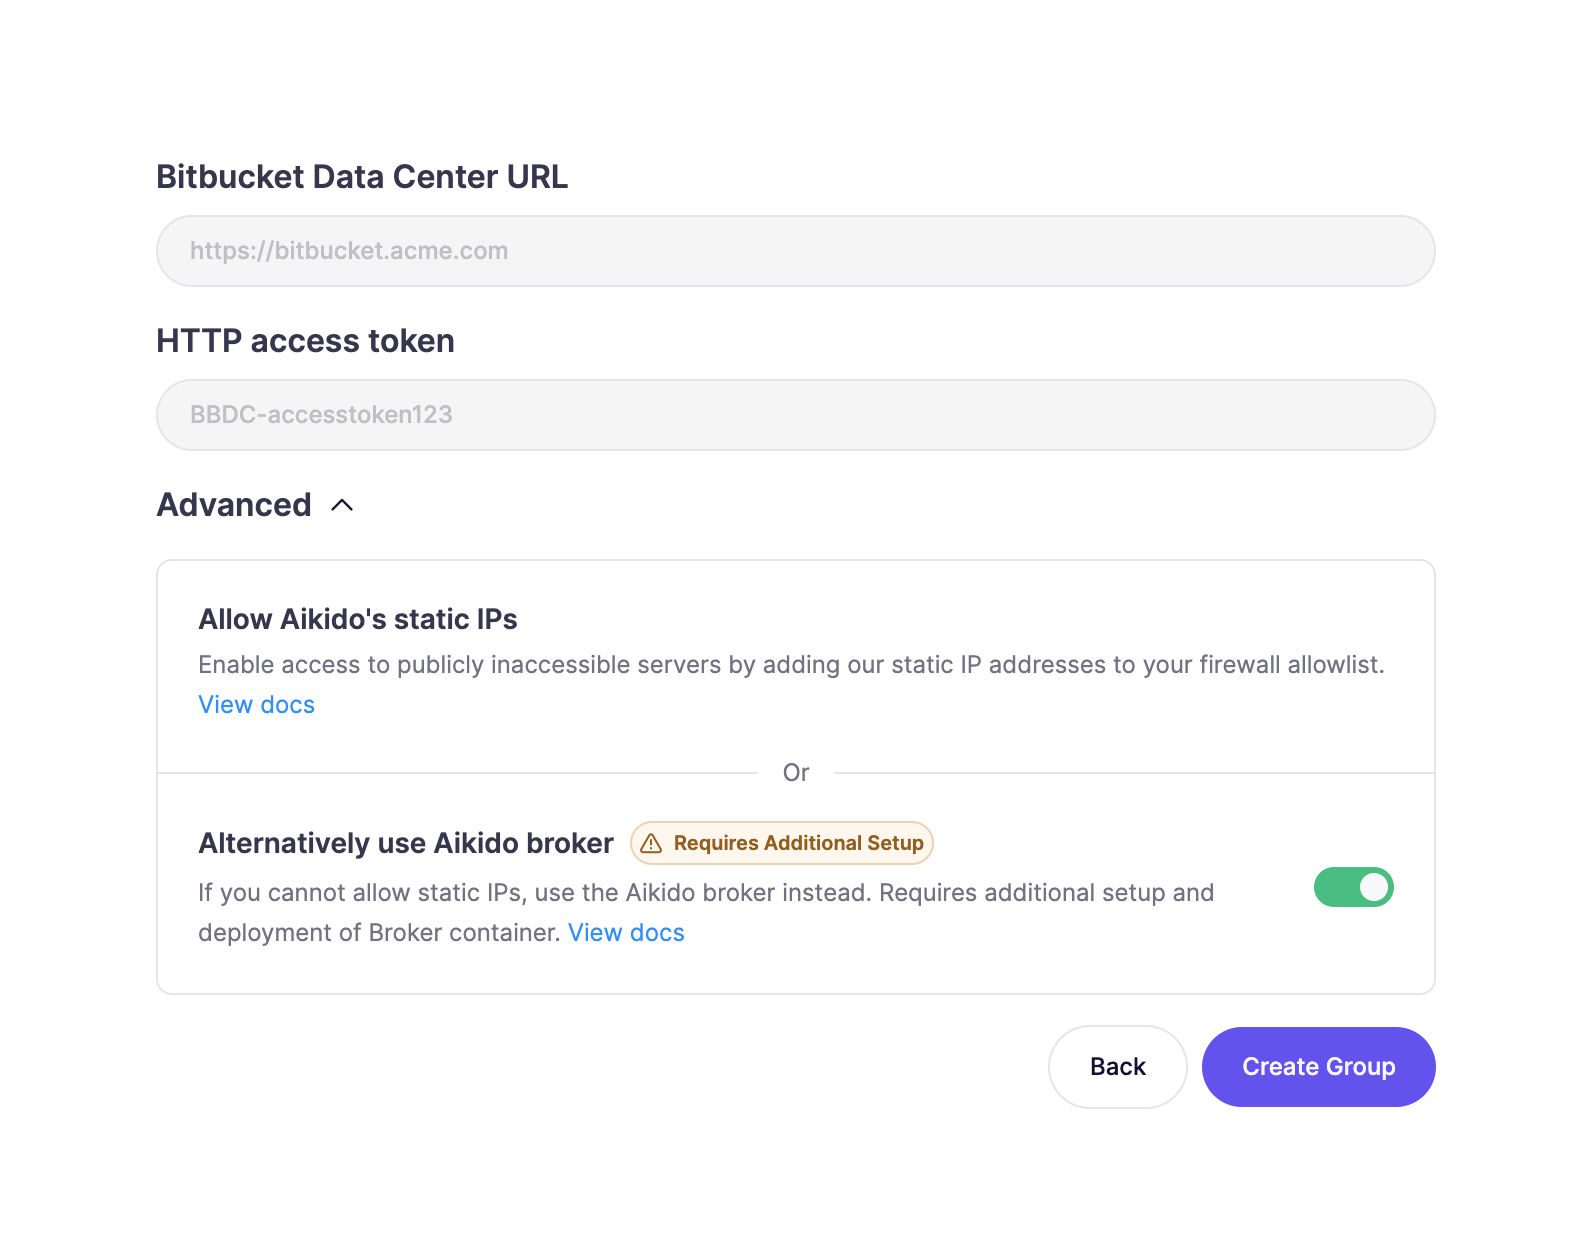
Enable the **Aikido broker** by clicking the toggle in the "Advanced Connection Options" section. Click **Create Group** to continue.
{% endstep %}
{% step %}
**Configure the Broker**
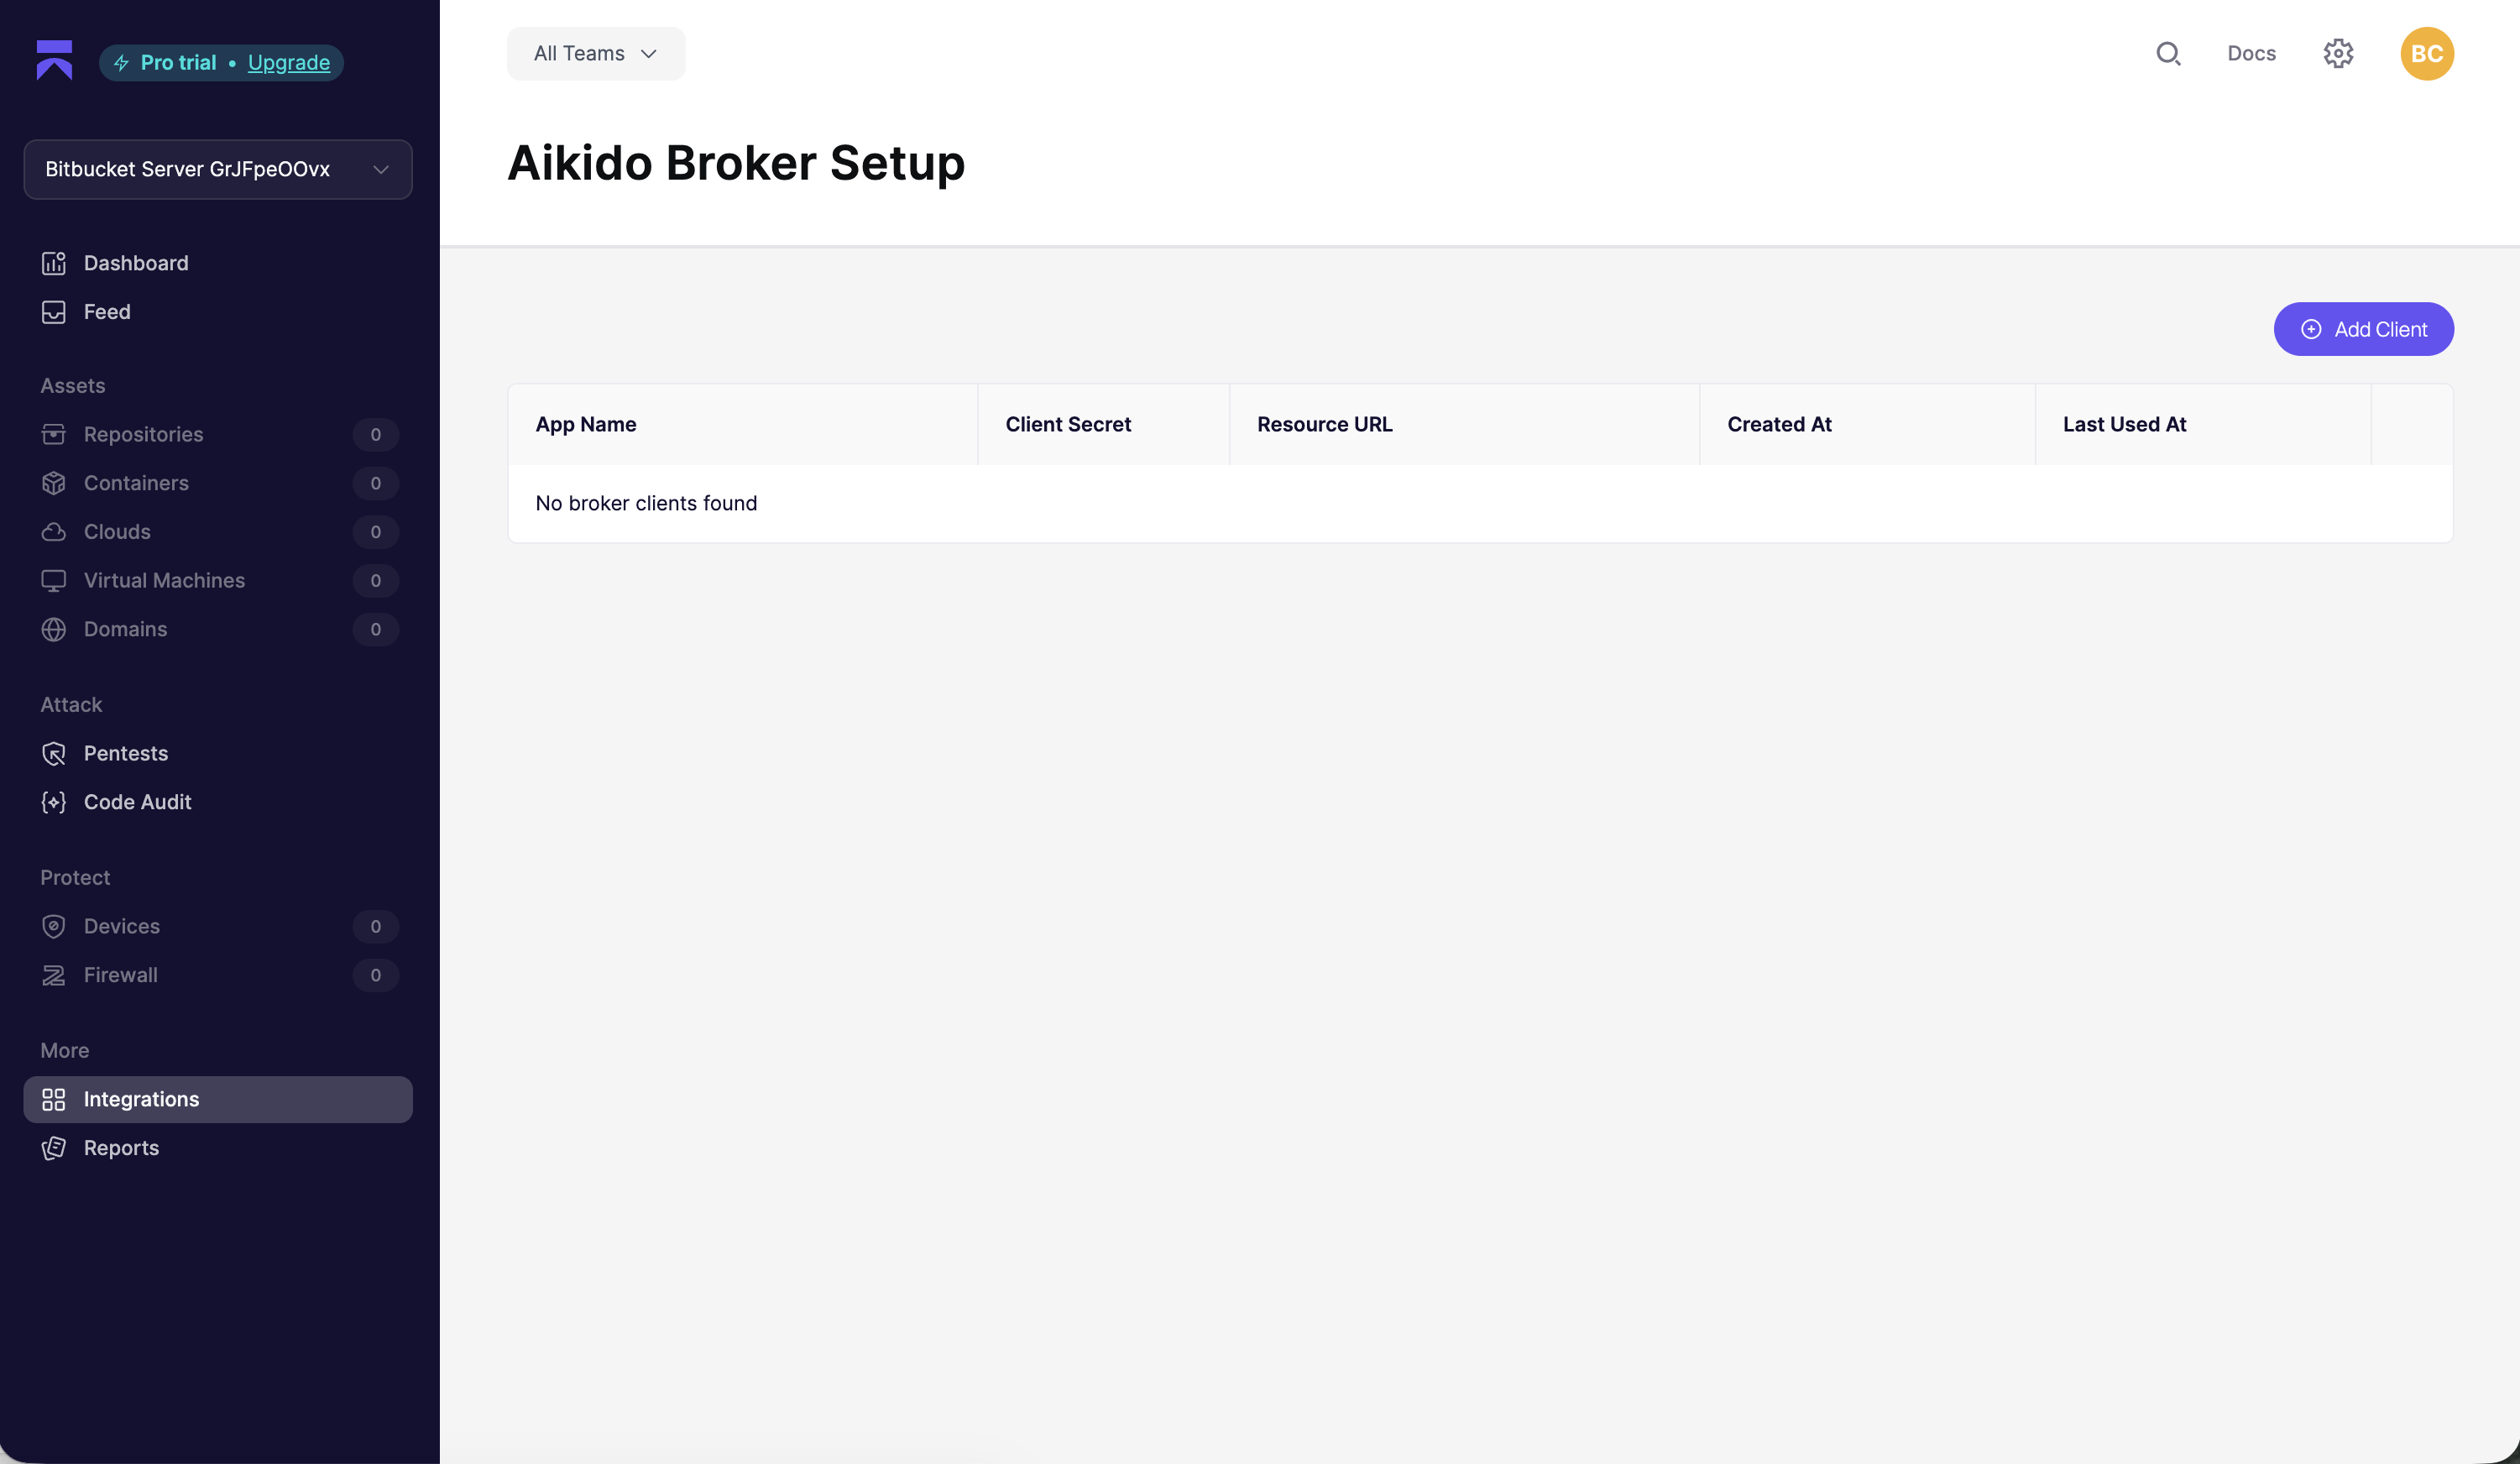
Configure the Broker using the guide below. After you deploy it, return here to finish the GitLab setup.
{% content-ref url="../../../miscellaneous-info/aikido-broker-for-internal-applications.md" %}
[aikido-broker-for-internal-applications.md](https://help.aikidogov.us/miscellaneous-info/aikido-broker-for-internal-applications)
{% endcontent-ref %}
{% endstep %}
{% step %}
**Complete Bitbucket Data Center setup**
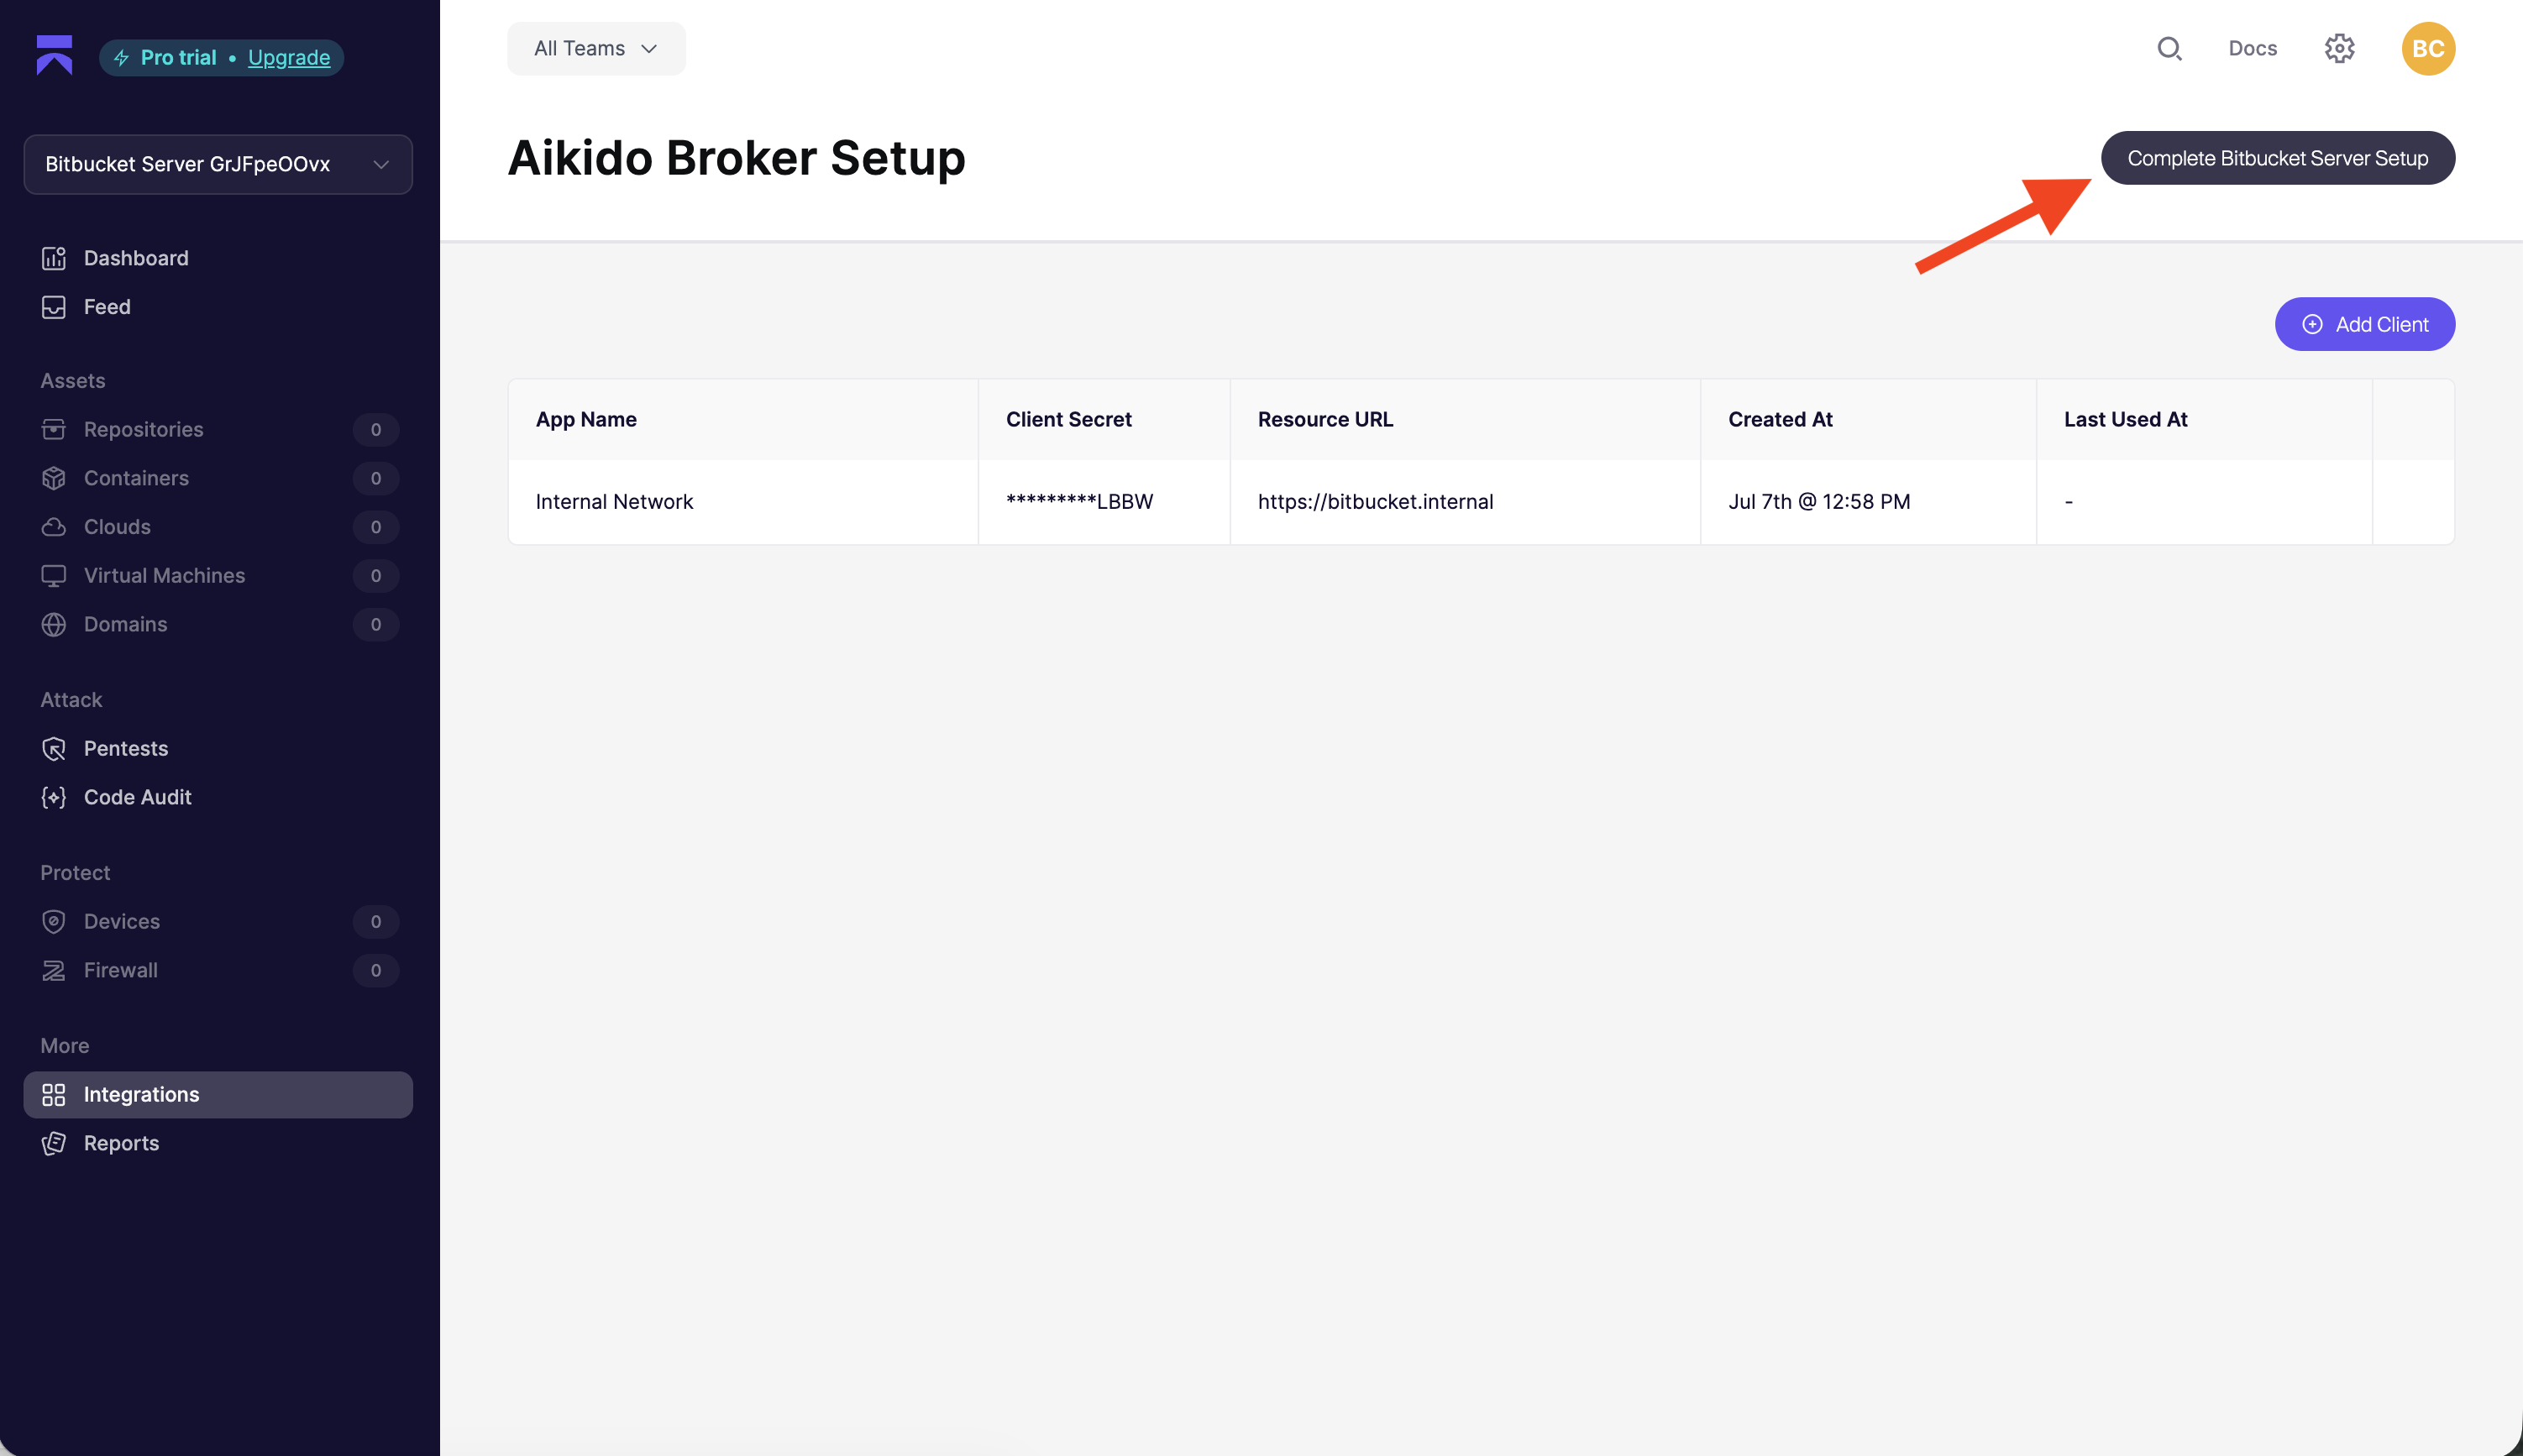
After you create the broker and deploy it in your environment, you can complete the Bitbucket Data Center setup.
First, copy the **Broker URL**. It looks similar to this:
```
https://55673-355dsfwea68cb.aikidobroker.com
```
Then click **Complete Bitbucket Server Setup**.
{% endstep %}
{% step %}
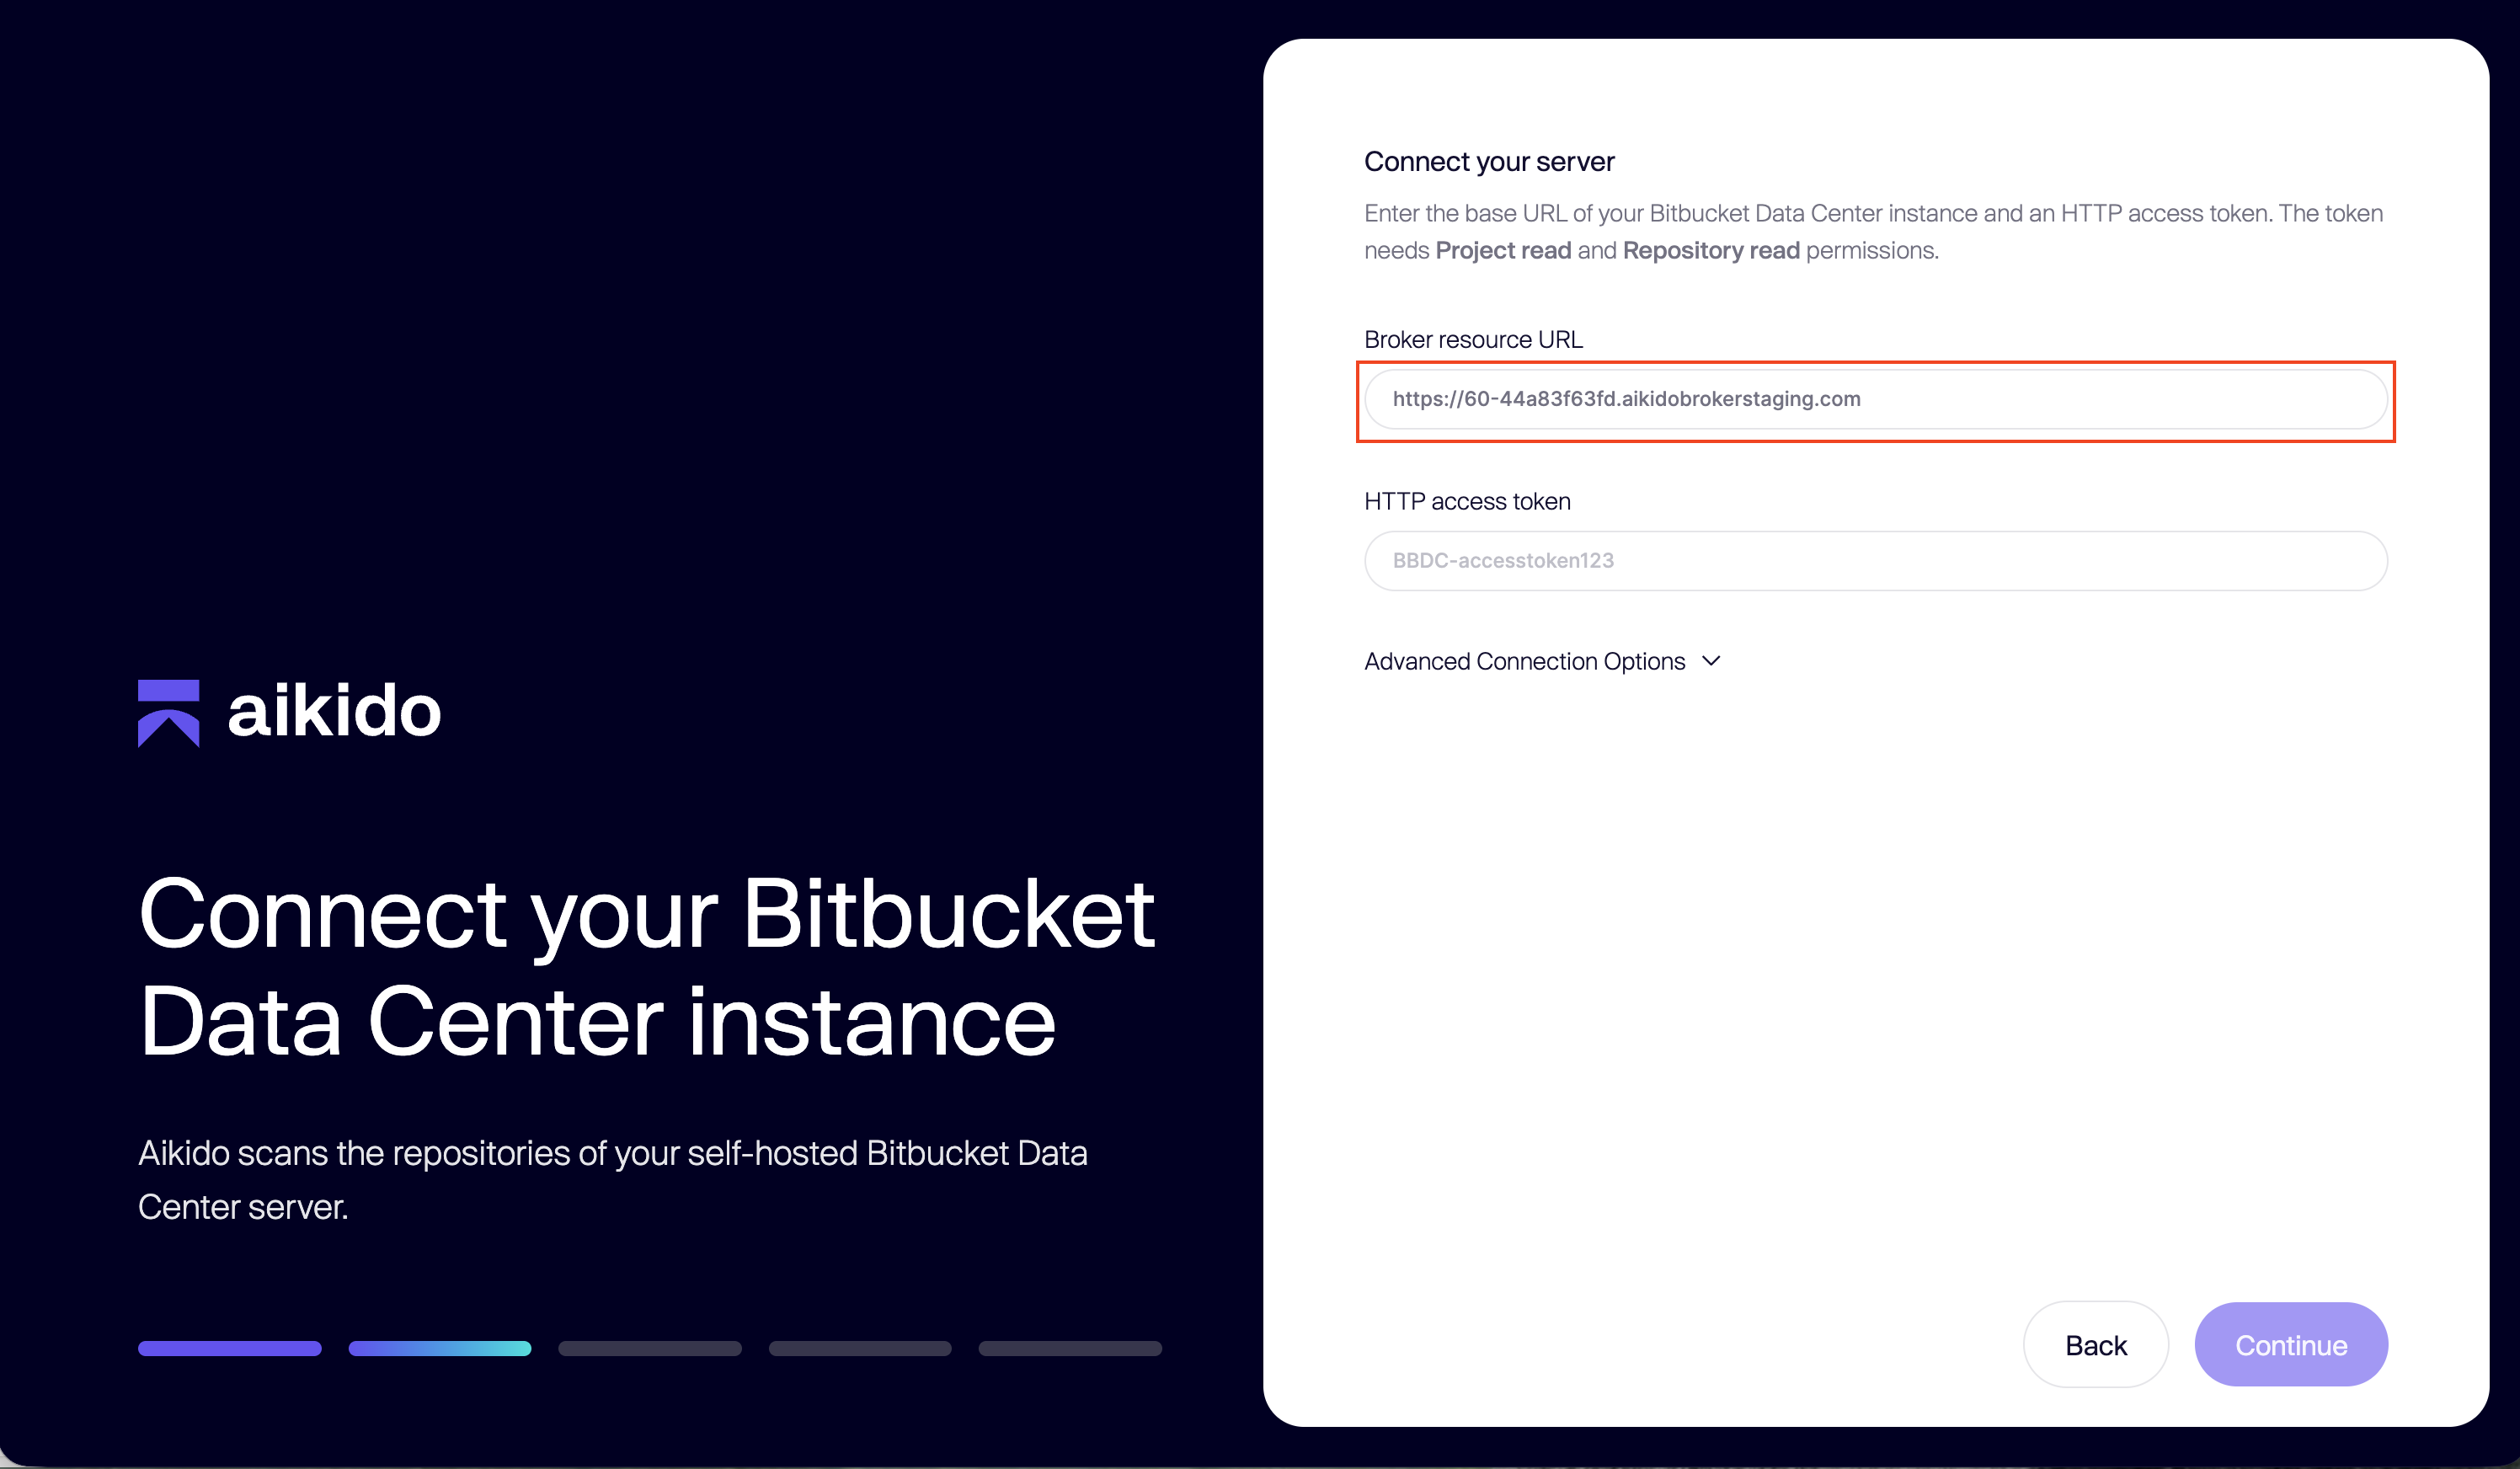
**Enter the Broker URL**
Paste the Broker resource URL from the previous step in the input field for the "server URL".
{% endstep %}
{% step %}
**Create a HTTP Access Token**
You can find the `HTTP access token` under **Profile** → **Manage account** → **HTTP access tokens** → **Create token**.
**Required token permissions**
Aikido requests the following token permissions for your Bitbucket on-premises instance:
* **Project:** Write
* **Repository:** Write
**Why Write access?**
Write access is required to support the full Aikido feature set, including AutoFix (creating merge-ready PRs) and PR checks (posting status checks and comments on pull requests).
**If you only need scanning**
If your team only uses Aikido for repository scanning and AI Pentesting, **Read permissions** are sufficient. You can configure a token with Read-only access and all scanning functionality will work as expected.
{% endstep %}
{% step %}
**Complete the installation**
After you click **Next, Connect Group**, select the group you want to start with. You can always connect more groups later.
In the final step, select the repositories you want Aikido to monitor.
{% endstep %}
{% endstepper %}