
Connect Your Azure Cloud
Why connect my Azure cloud account?
Securing your cloud infrastructure is crucial to protecting your data. You can leverage Aikido's security checks to detect and address any misconfigurations in your Azure environment.
Main use cases
- Aikido surfaces misconfigurations in your connected Azure subscription(s). All configuration checks can be found here (filter to Azure to see the checks specific to your subscriptions).
- Aikido continuously monitors your Azure subscriptions for new risks as your setup evolves.
Getting started
To get started, head to the cloud overview page on Aikido and click "Connect Cloud". Select Microsoft Azure from the list and follow the step-by-step setup wizard.
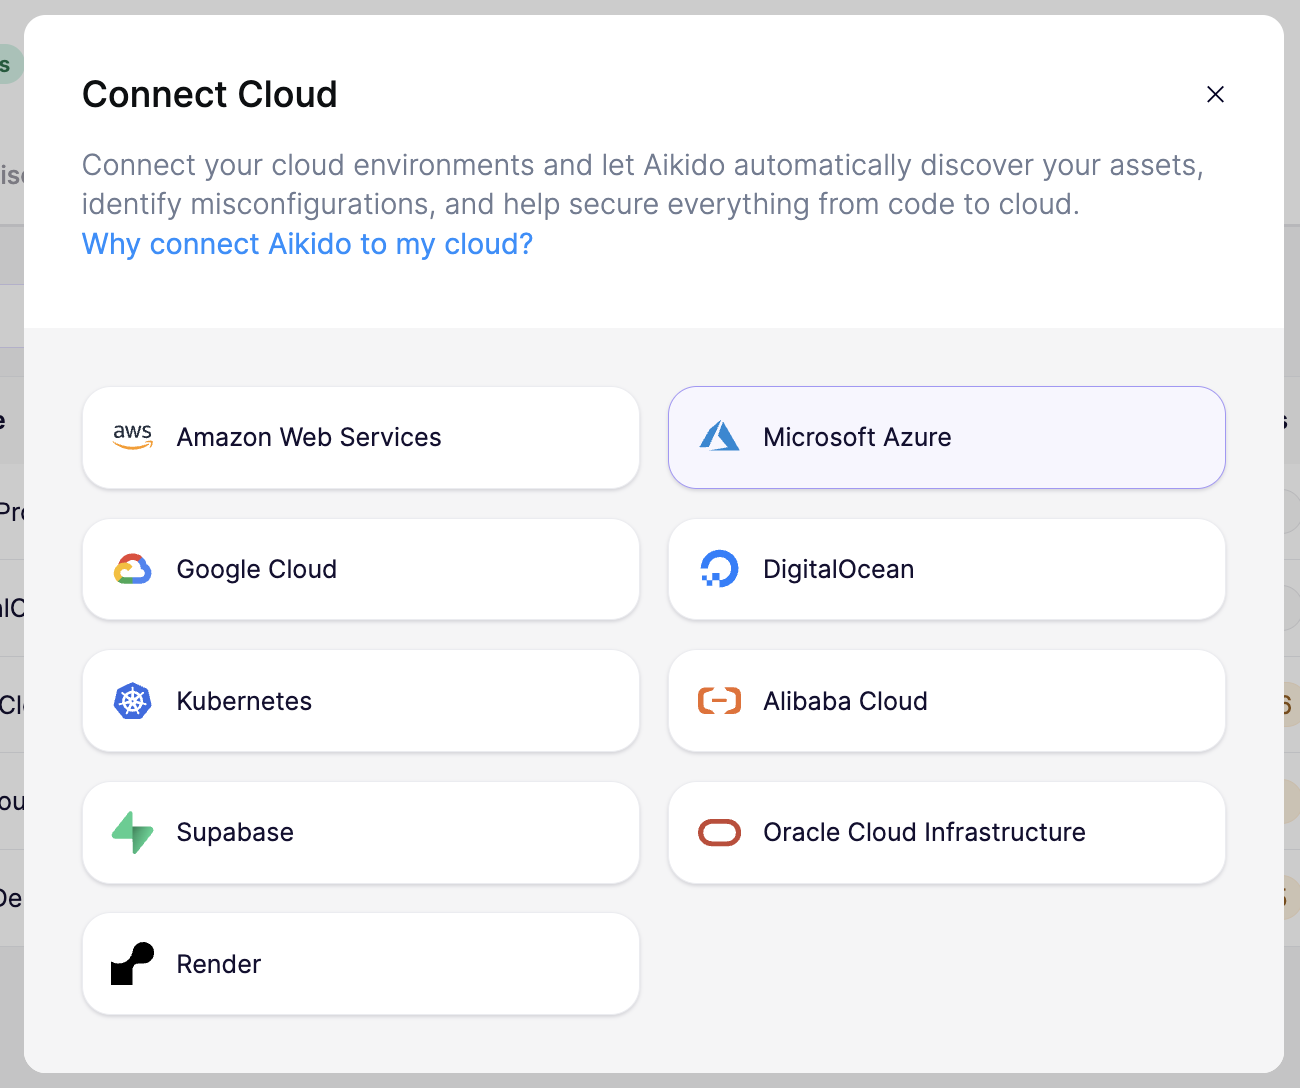
To connect your Azure subscription, you'll register a dedicated application in Microsoft Entra ID, generate a client secret for Aikido to authenticate with, and grant it read-only reader roles. The steps below walk you through the wizard.
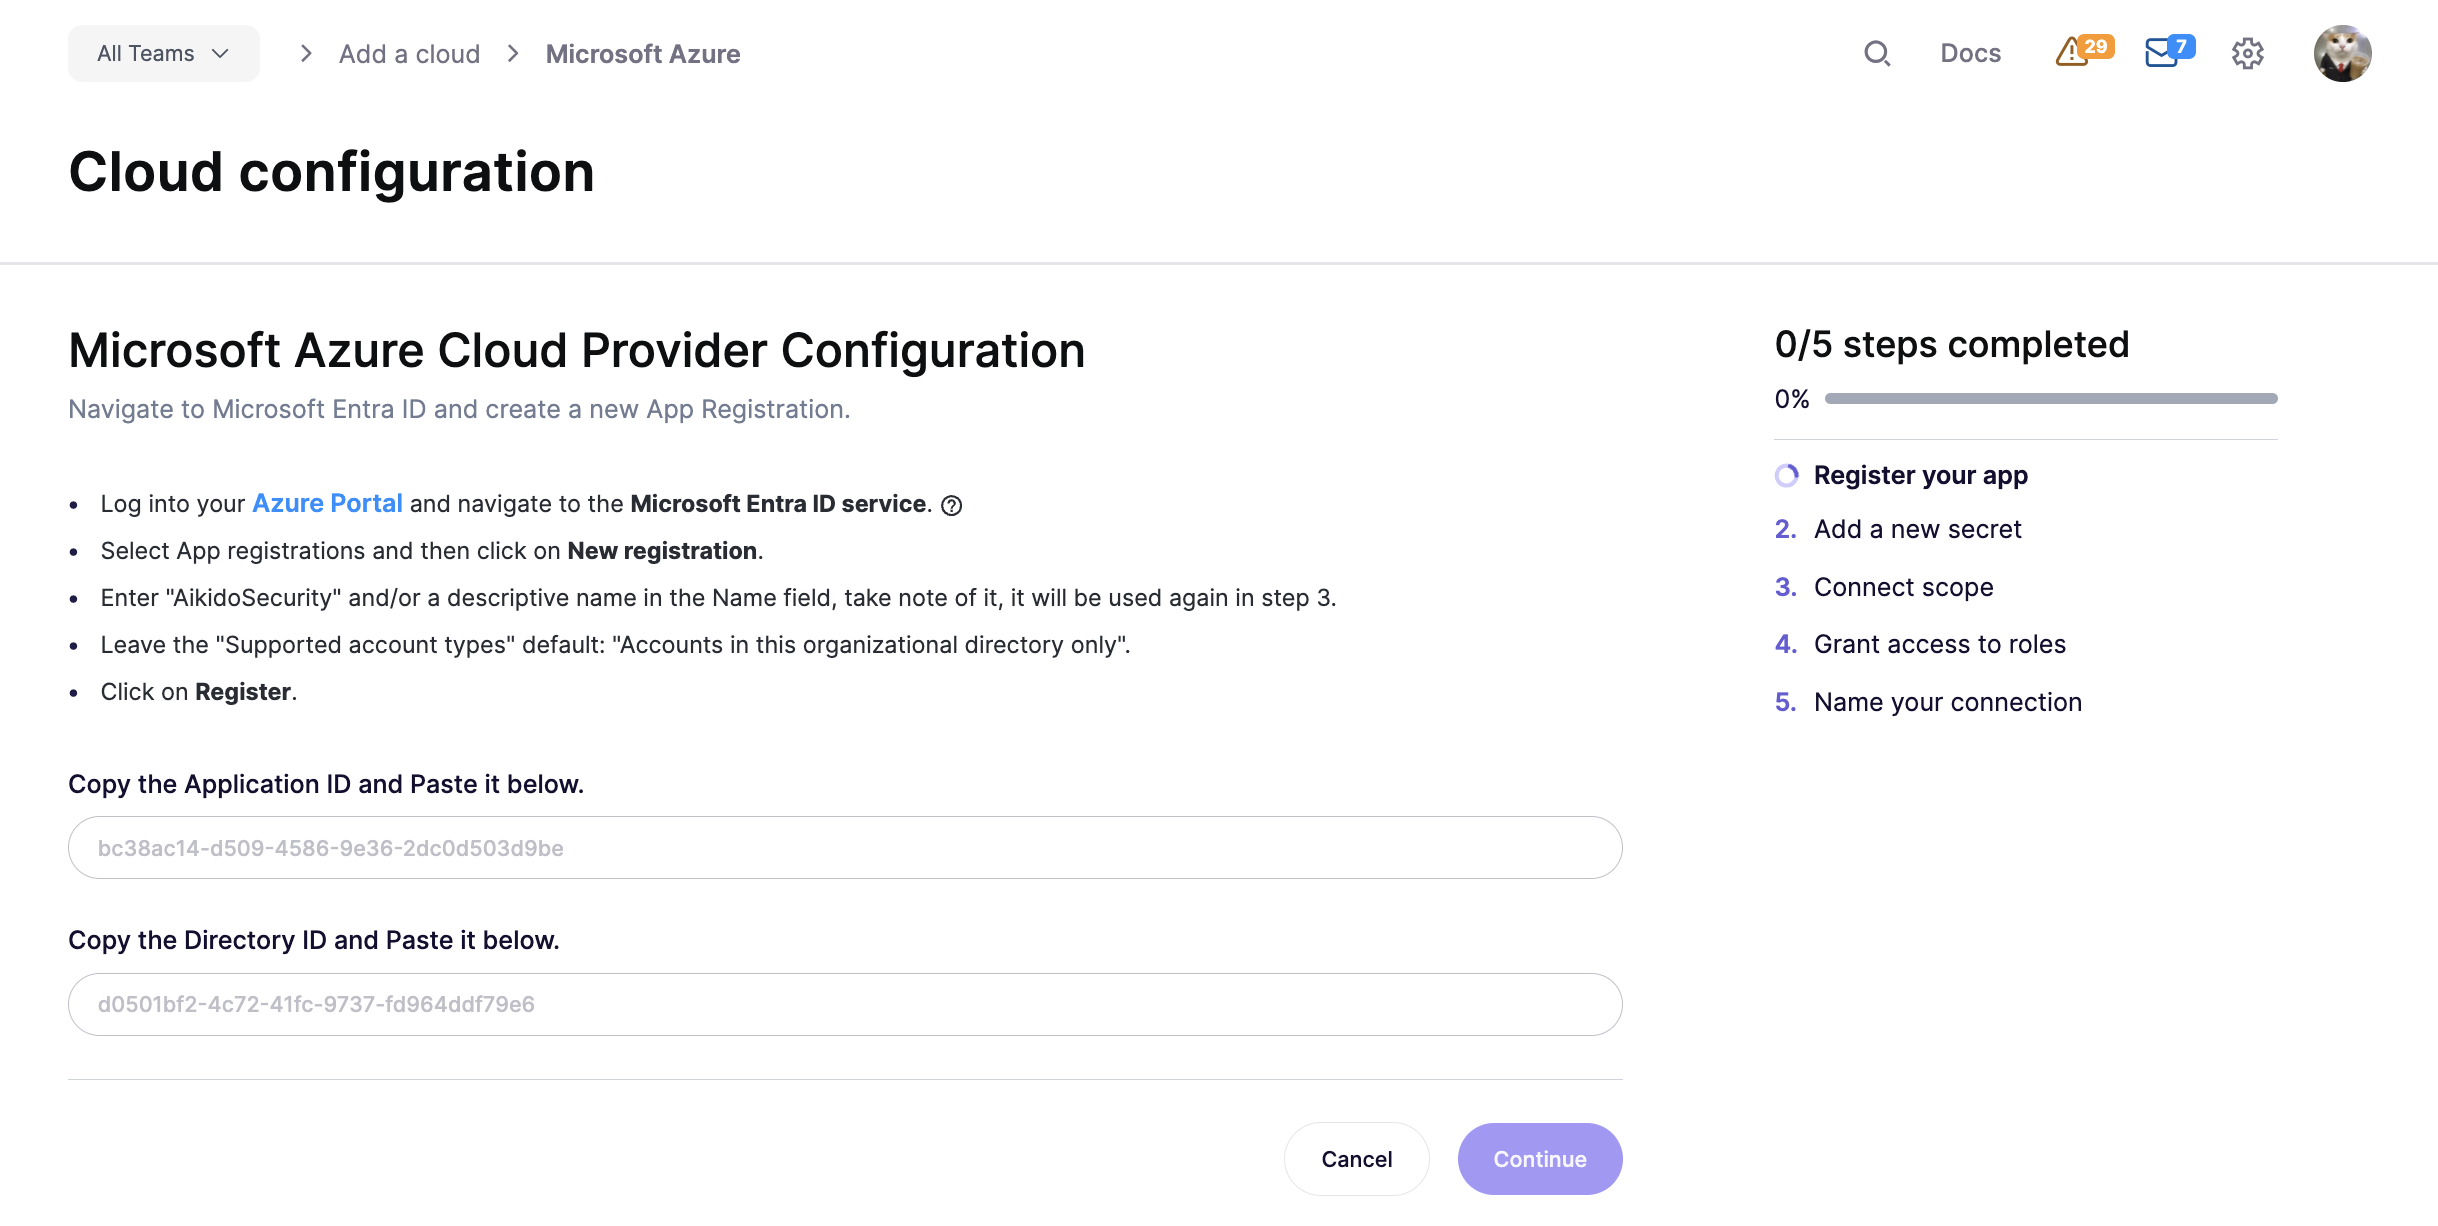
Register your app
Log into your Azure Portal and navigate to the Microsoft Entra ID service.
- Select App registrations and click New registration.
- Enter
AikidoSecurity(or a descriptive name) in the Name field. Take note of it, you'll need it again in a later step. - Leave Supported account types on the default: "Accounts in this organizational directory only".
- Click Register.
Copy the Application ID and Directory ID and paste them into the wizard.
Add a new secret
Now add a secret and set an expiration date.
- Click on Certificates & secrets.
- Under Client secrets, click New client secret.
- Enter a description (e.g.
AikidoSecurity) and set Expires to "In 2 years". - Click Add.
- Copy the secret key value and paste it into the wizard.
Connect scope
Choose your onboarding method: Single Subscription or Multiple Subscriptions.
- Single Subscription: navigate to Subscriptions in the Azure Portal, copy the relevant Subscription ID, and paste it into the wizard.
- Multiple Subscriptions: by default, Aikido onboards your entire tenant root group (identified by the directory/tenant ID from the first step). Optionally, provide a Management Subscription ID to include only specific management groups, or exclude specific management groups or subscriptions. You can also enable ACR Scanning and VM Scanning here.
Grant access to roles
Assign the required reader roles to your app registration so Aikido can perform its security checks without the risk of unintended modifications to your resources.
- Go to the subscription's Access Control (IAM) page, open the Role assignments tab, and click Add then Add role assignment.
- Search for and select the Security Reader role and click Next. Leave Assign access to on the default, click Select members, search for your app registration (e.g.
AikidoSecurity), and select it. Click Select, then Review + assign twice. - Repeat the process to assign the Log Analytics Reader role.
Aikido will notify you via email when the secret is about to expire.
Name your connection
Give your connected subscription a name in Aikido and specify the environment it operates in (development, staging, production). This helps Aikido prioritize findings based on severity and business impact. Click Save to finish.
Within 1-2 minutes after connecting your account, Aikido will report misconfigurations that could pose a threat.
Advanced rules
Besides the checks mentioned above, Aikido offers a suite of complementary checks/rules that you can enable. We call these advanced cloud rules and you can find them here. After enabling any of these rules, you can expect to see the results (as new issues in the feed) within a few seconds.
Just like the standard checks, these are evaluated with each scan of your cloud environments. Moreover, they are mapped to the compliance reports. By default, the advanced rules will appear as disabled in the compliance reports, unless you activate them.