Connect GitLab Self-Managed Server
Aikido lets you connect a self-managed GitLab instance to scan and secure your code. Follow the steps below to connect your GitLab server to Aikido.
Before you start
- If your GitLab is behind a firewall, allowlist the Aikido IP addresses so Aikido can reach it.
- The person setting this up needs access to both the GitLab instance and the GitLab group you want to connect.
An Aikido workspace always maps to a single GitLab group.
We recommend connecting Aikido to a top-level (root) group that contains all subgroups. If you don’t have a root group, create one workspace per GitLab group. You can do this after creating your first workspace via the top-left dropdown: “Add another workspace”.
Configuration
Create an Aikido account
To connect your GitLab server, first sign up or log in to Aikido using Google or Microsoft. On the signup screen, click Google / Microsoft.
Start the GitLab setup
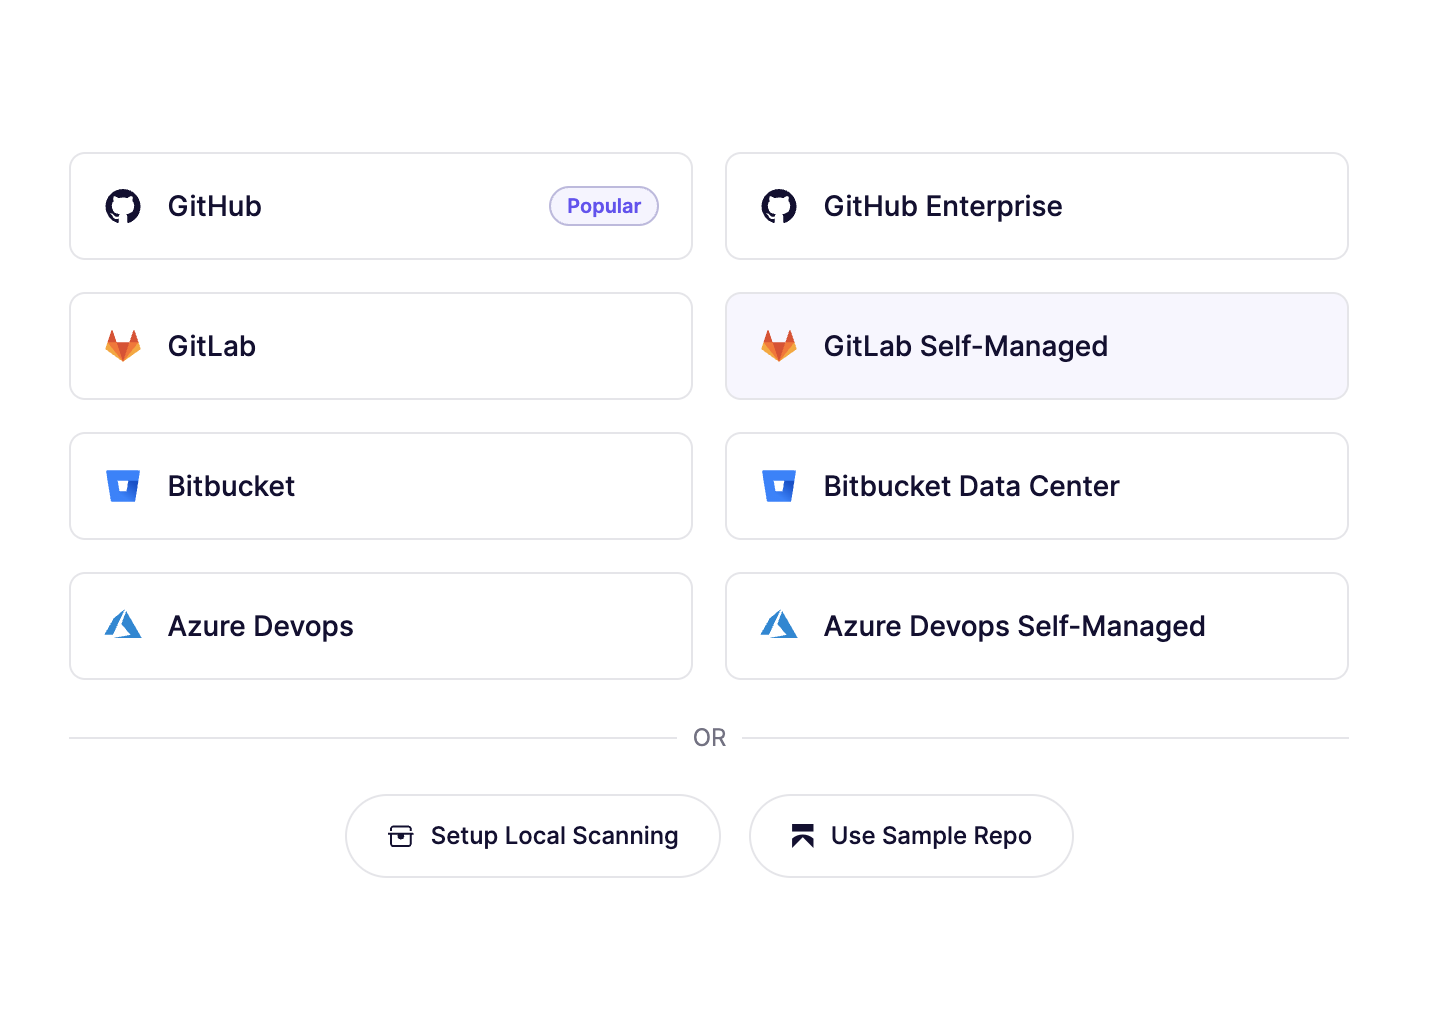
Once you’re authenticated, create a new workspace by clicking Self-Managed in the GitLab section.
Provide GitLab details
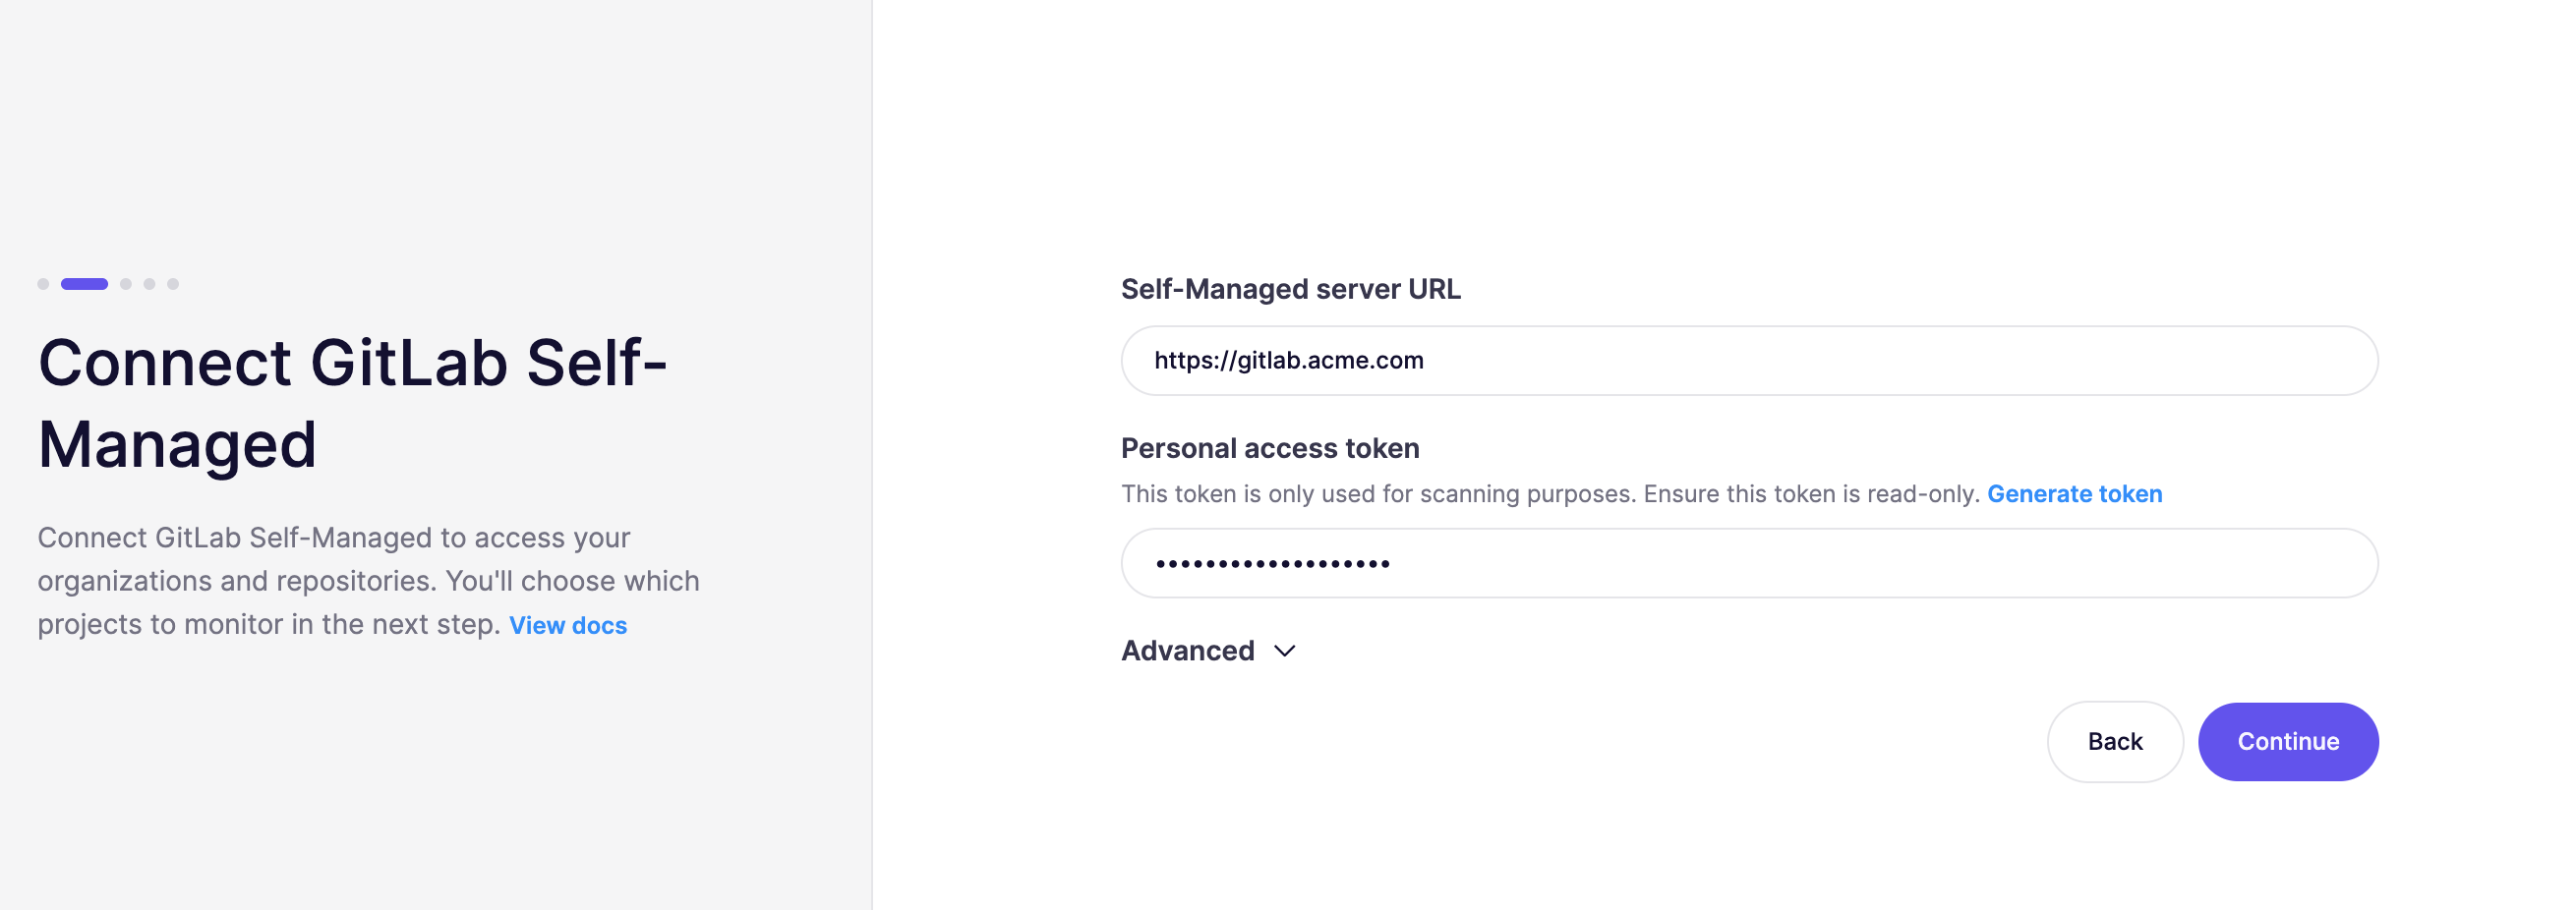
To create the workspace, provide a few details about your self-managed GitLab instance so Aikido can connect to it.
If your GitLab runs behind a firewall, allowlist the Aikido IP addresses so we can access it. If that’s not possible, use the Broker setup guide.
Enter the URL to your GitLab server in the first input field.
Create a GitLab personal access token (PAT)
Next, create a personal access token (PAT). We recommend using a dedicated service account.
- Log in to your GitLab server
- Go to the admin area (
/admin) - Go to Settings → Service accounts
- Click Add service account, enter a name, then save
Add the service account to the GitLab group you want to connect, like any other user. See GitLab’s docs on group members.
Now that the service account is created, you can create a PAT for it by clicking the three dots and select "Manage access tokens"
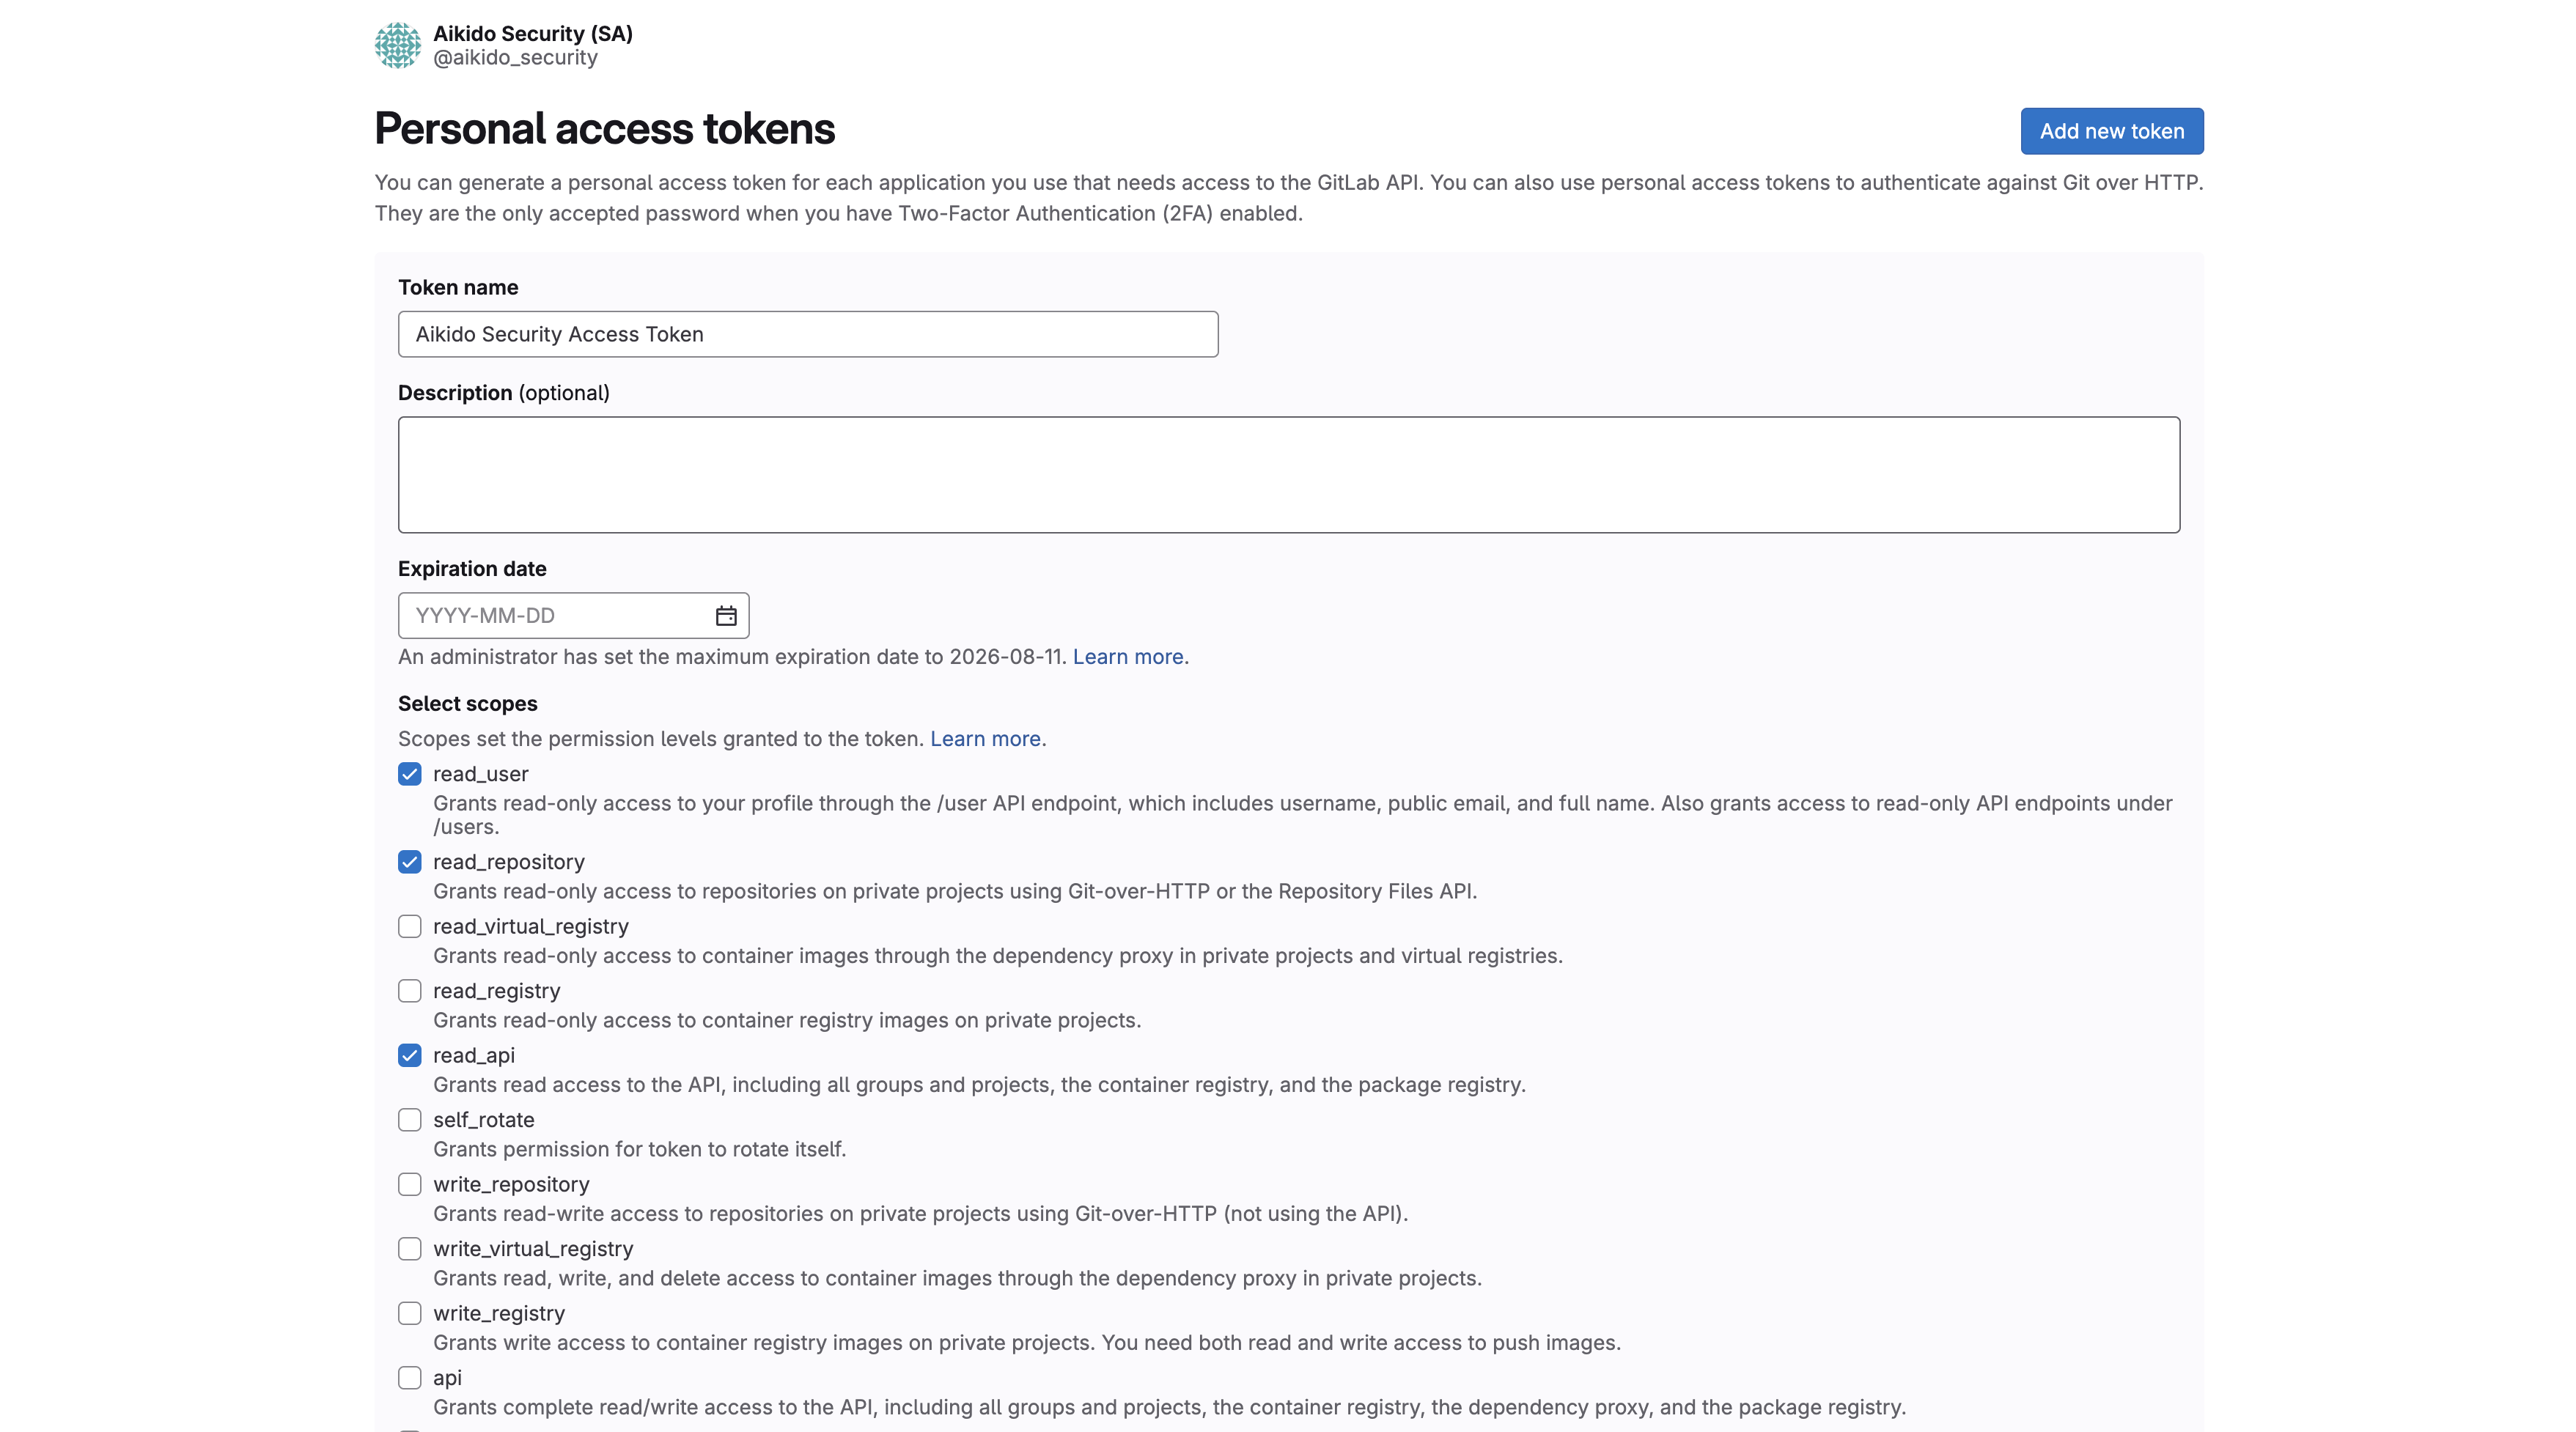
- Click on "Add new token"
- Enter a name for the token, for example:
Aikido Security Access Token - Set an expiration date that matches your internal policy. Rotate the token before it expires.
- We need the following scopes to be selected:
- read_user
- read_api
- read_repository
- Click the Create token button at the bottom of the form.
- Copy the token being shown on the screen and enter it in the input field.
Important: You won’t be able to see the token again after you leave this screen. Copy it before you continue.
Aikido will now check the connection to your GitLab server. If it fails, double-check the server URL and the token.
Complete the installation
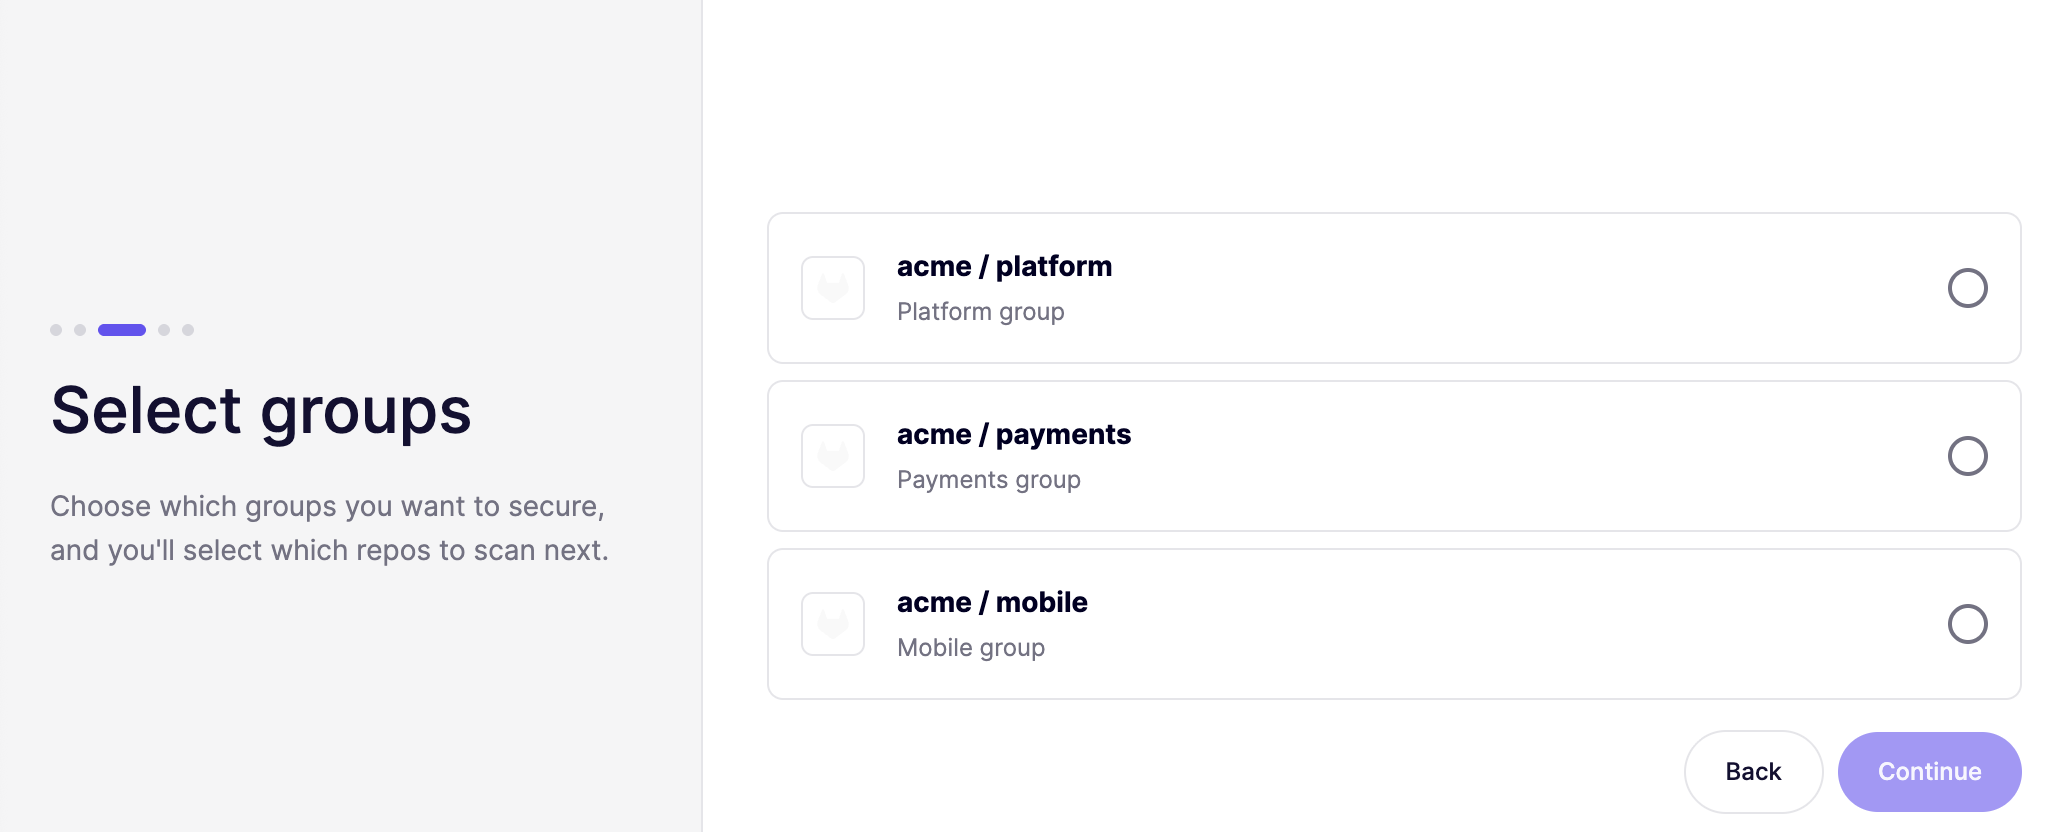
After you click Next, Connect Group, select the group you want to start with. You can always connect more groups later.
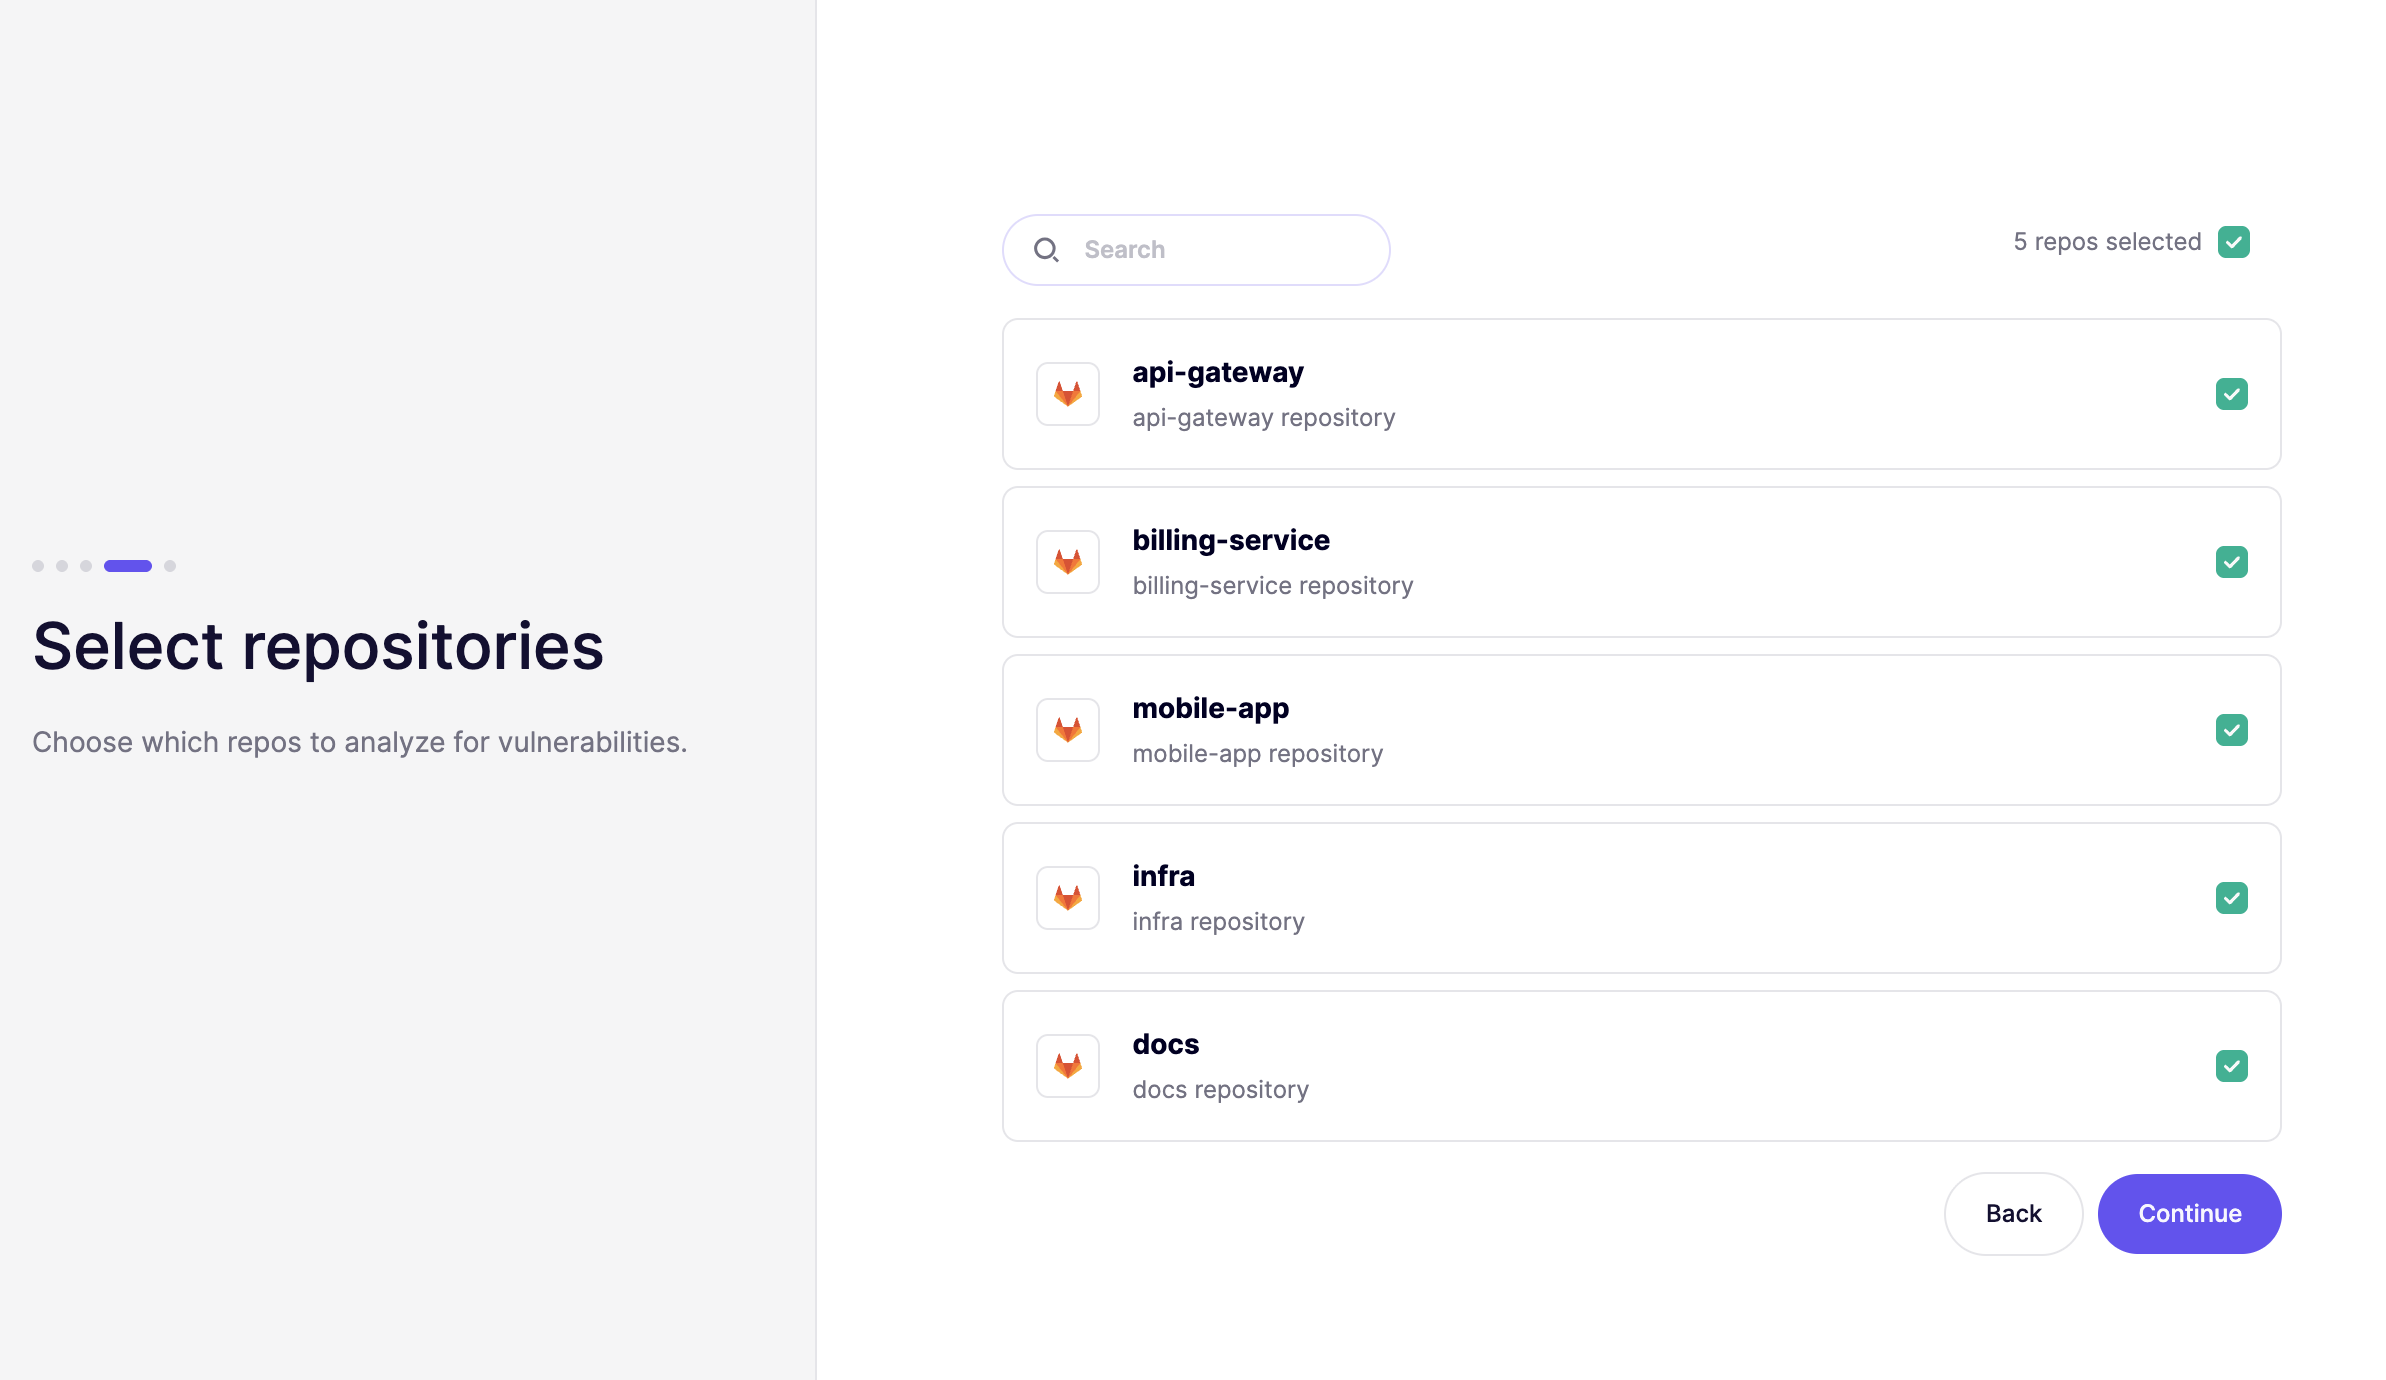
In the final step, select the repositories you want Aikido to monitor.