
Jira Data Center
This article focuses on those companies that have Jira Data Center running (i.e., Jira on premise, different from Jira Cloud). The following one-time setup per workspace allows everyone in your Aikido organization to create issues directly in Jira On Prem.
Following use cases are supported :
- Automated Ticket Creation: Automatically create and push tickets to specified Jira projects for seamless tracking of security issues.
- Manual Ticket Addition: Manually add security issue tickets to Jira, ensuring targeted attention for critical vulnerabilities.
Prerequisites
In order to make the connection to JIRA Data Center, you'll need to create a personal access token. This token will then be used to carry out all requests to your instance.
Please note that the level of access the integration has will be equal to the person who created the personal access token (PAT). It's therefore advised to let a person with sufficient access rights in the environment to create the PAT.
To create a PAT, you can follow the steps below:
-
Navigate to your JIRA Data Center environment
-
Click on your avatar in the navigation bar on top and navigate to "Profile"
-
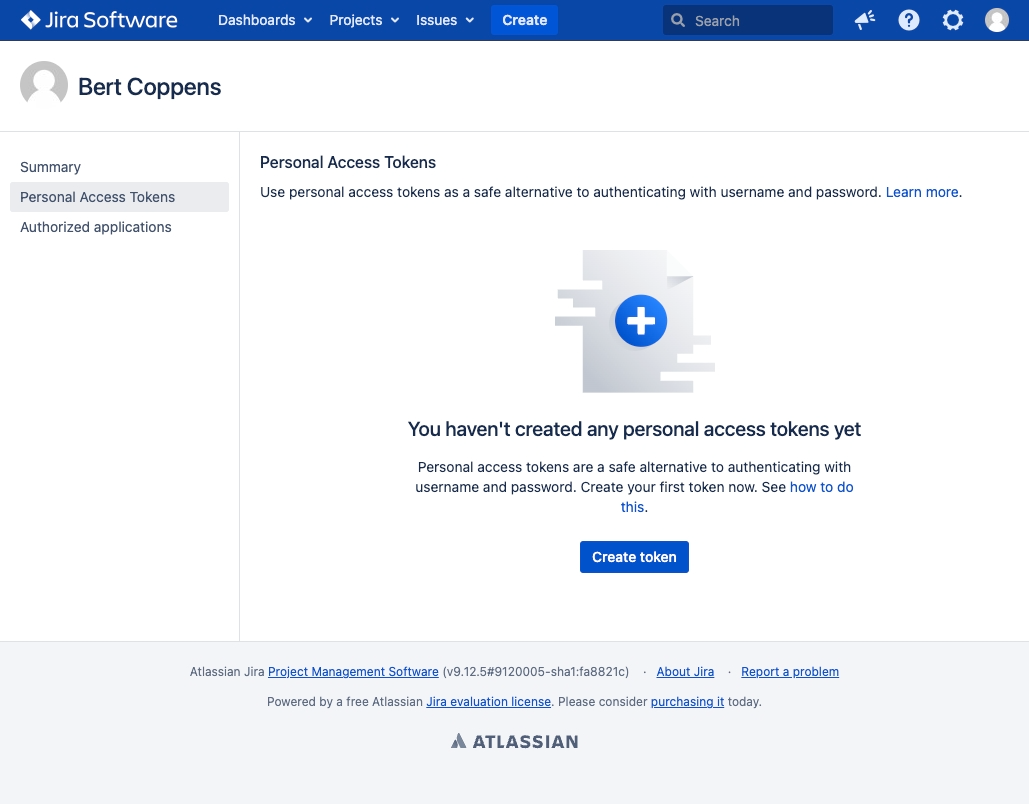
Click on "Personal Access Tokens", you should end up on a screen similar to the one below
-
Click on "Create token" and give it an appropriate name
-
We advise to not set an expiry date, but if you do, you'll have to remind yourself to update the token in Aikido periodically
-
Once the token is created, you'll get to copy it momentarily, copy the token and keep it for the next step
Connecting the Aikido App to Jira
-
Navigate to Integration Settings within the Aikido app.
-
In the 'Task Trackers' section, select 'Jira Data Center'
-
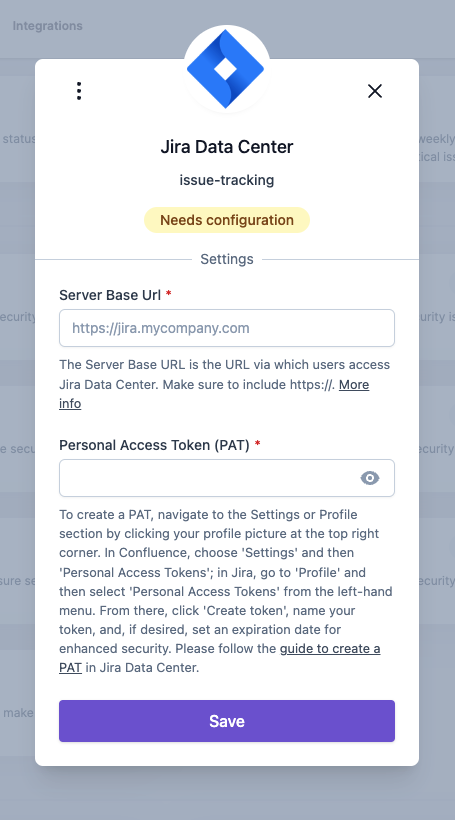
Enter the url of your environment
-
Enter the PAT from the previous step and hit "Save"
-
Once authorized, Aikido is successfully connected to Jira, enhancing your task management capabilities 🚀
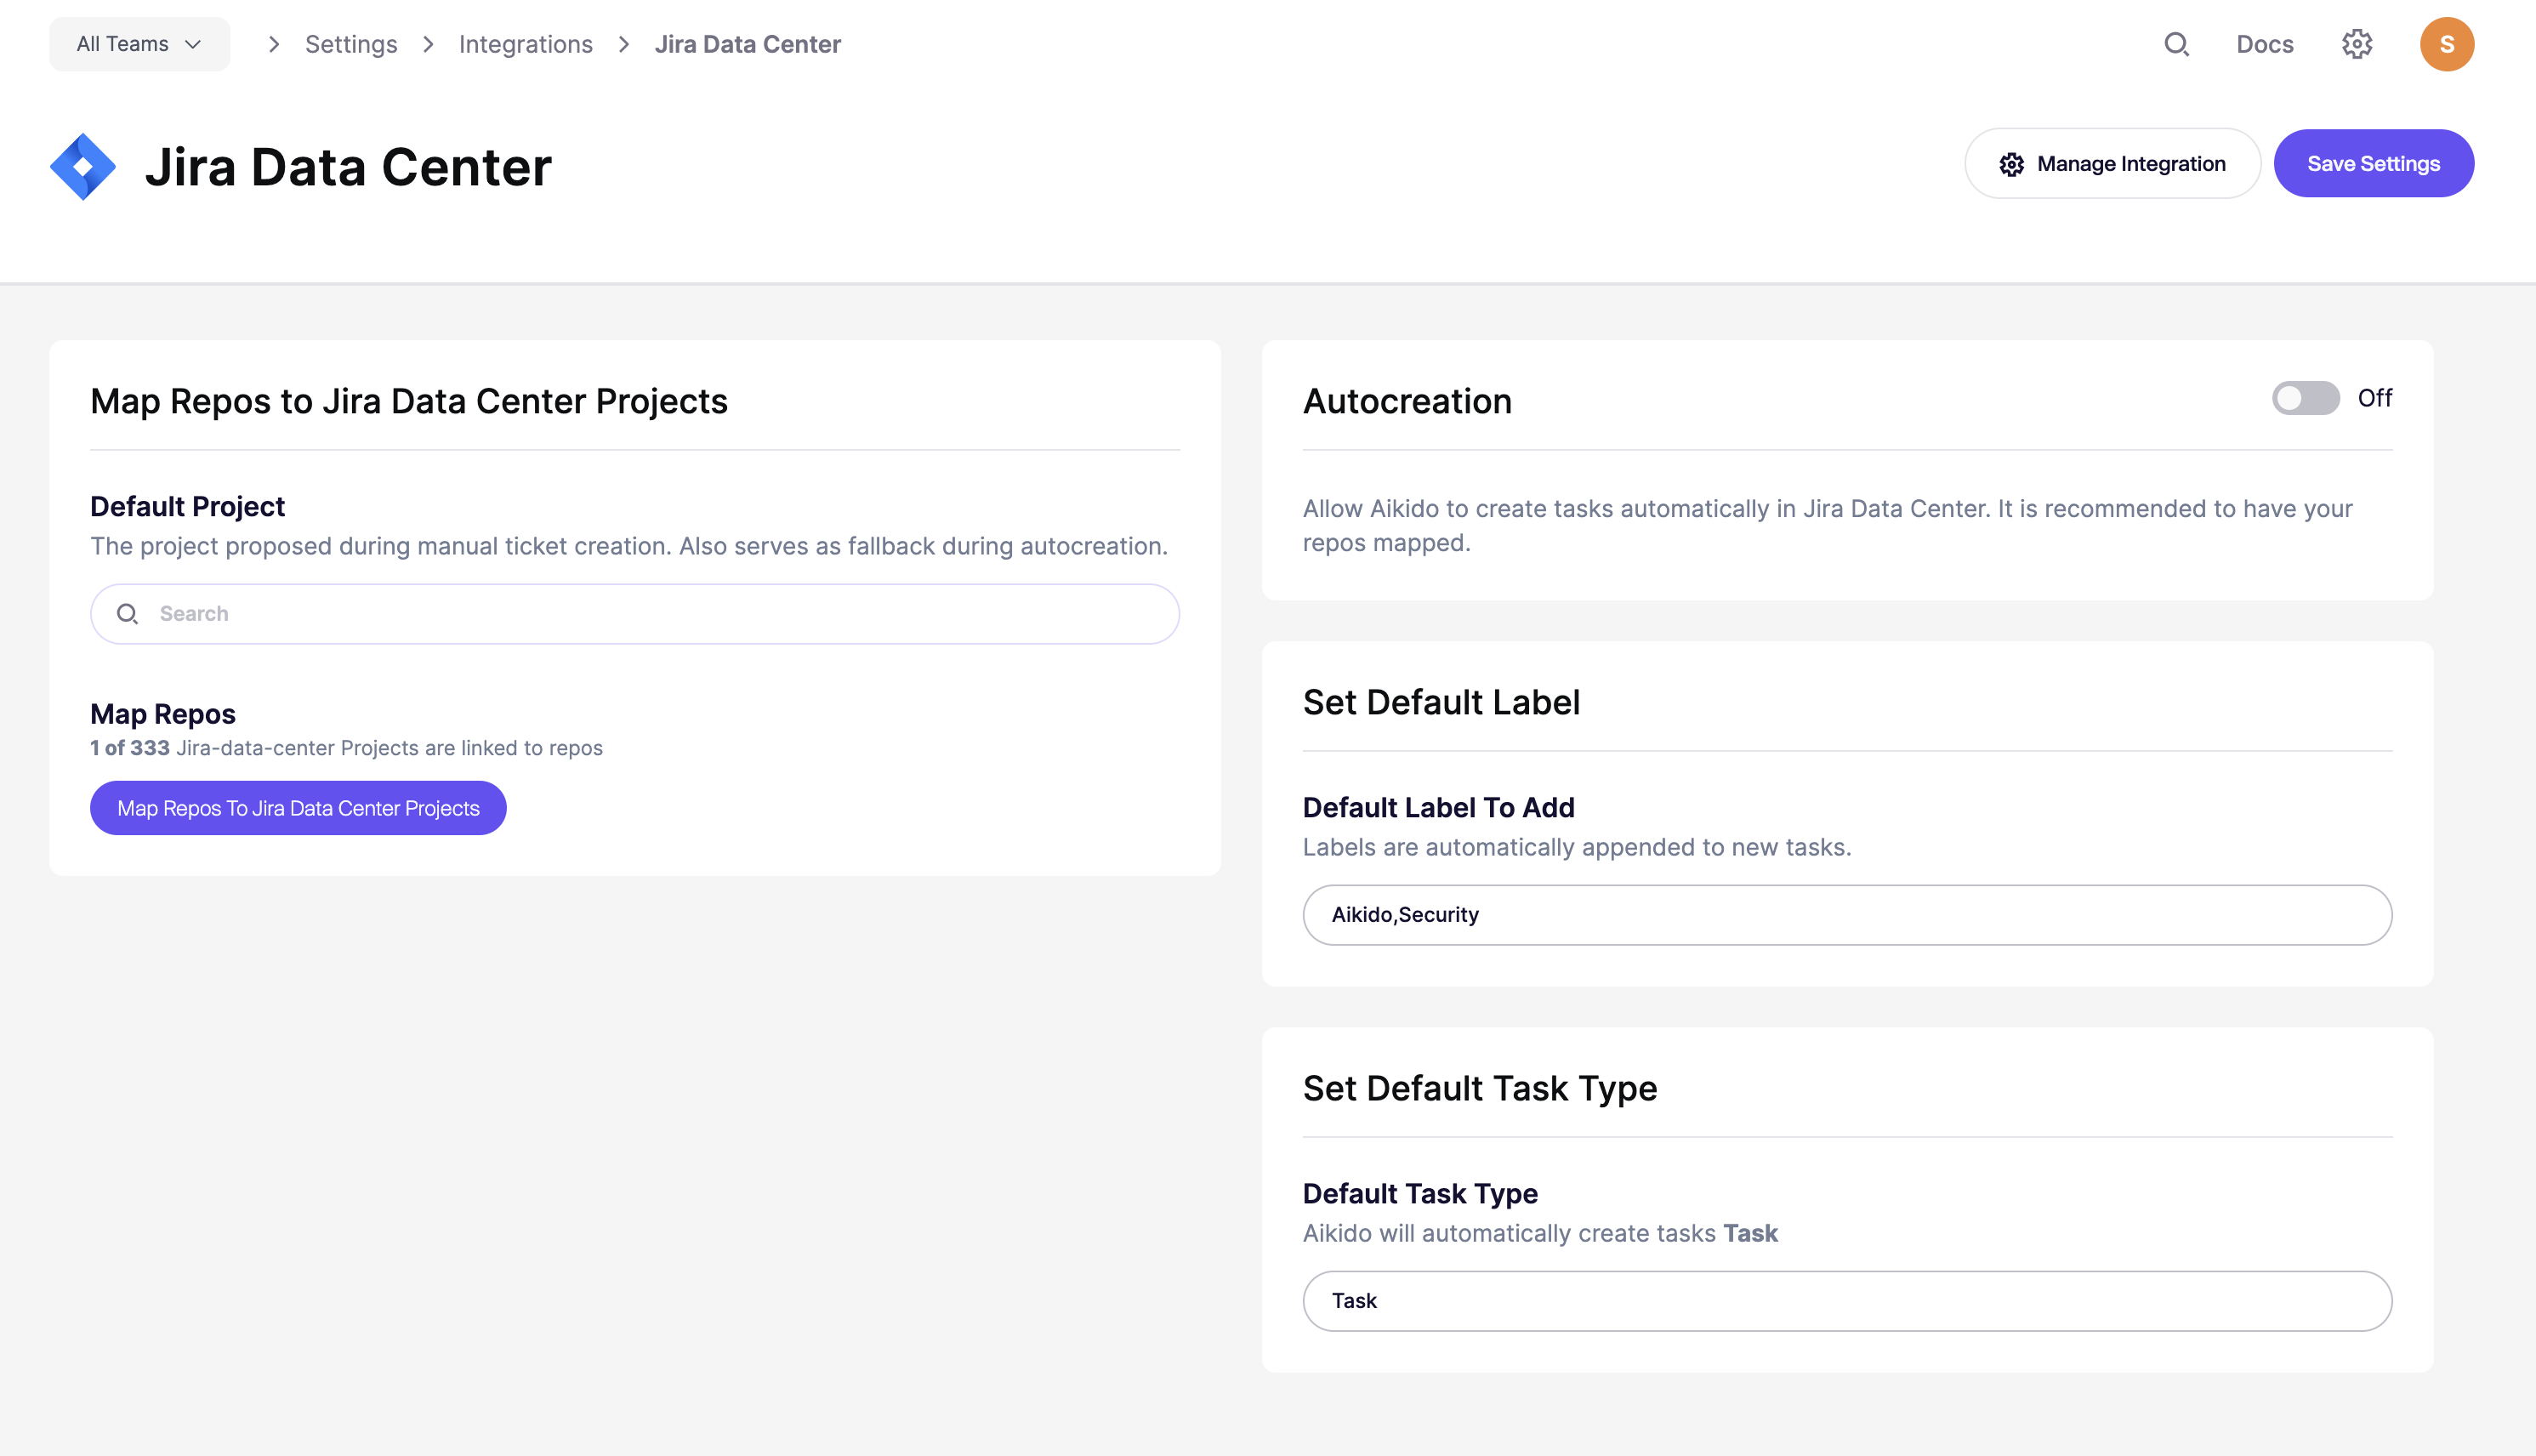
Options for Task Creation in Jira via Aikido
There are two different options to create new tasks from Aikido into Jira.
- Manually create tasks from the Aikido interface
- Automatically create new tasks via Aikido's auto creation functionality.
1. Manual Task Creation
-
Hover over any issue in your feed and click the + in the assign column.
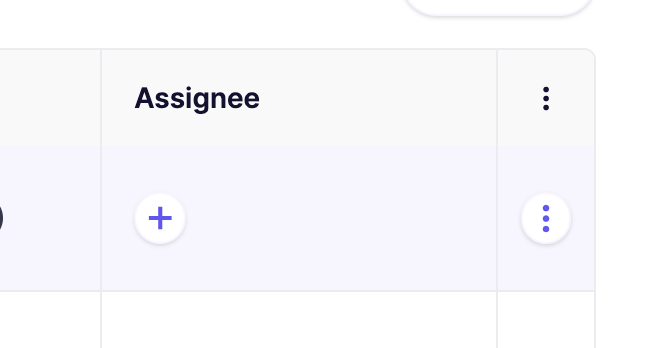
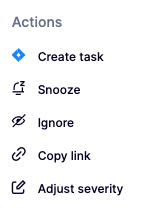
Alternatively, you can click the triple dots in the last columns to open up the action menu. If you have grouped issues, the triple dot action menu is available on every subissue.
-
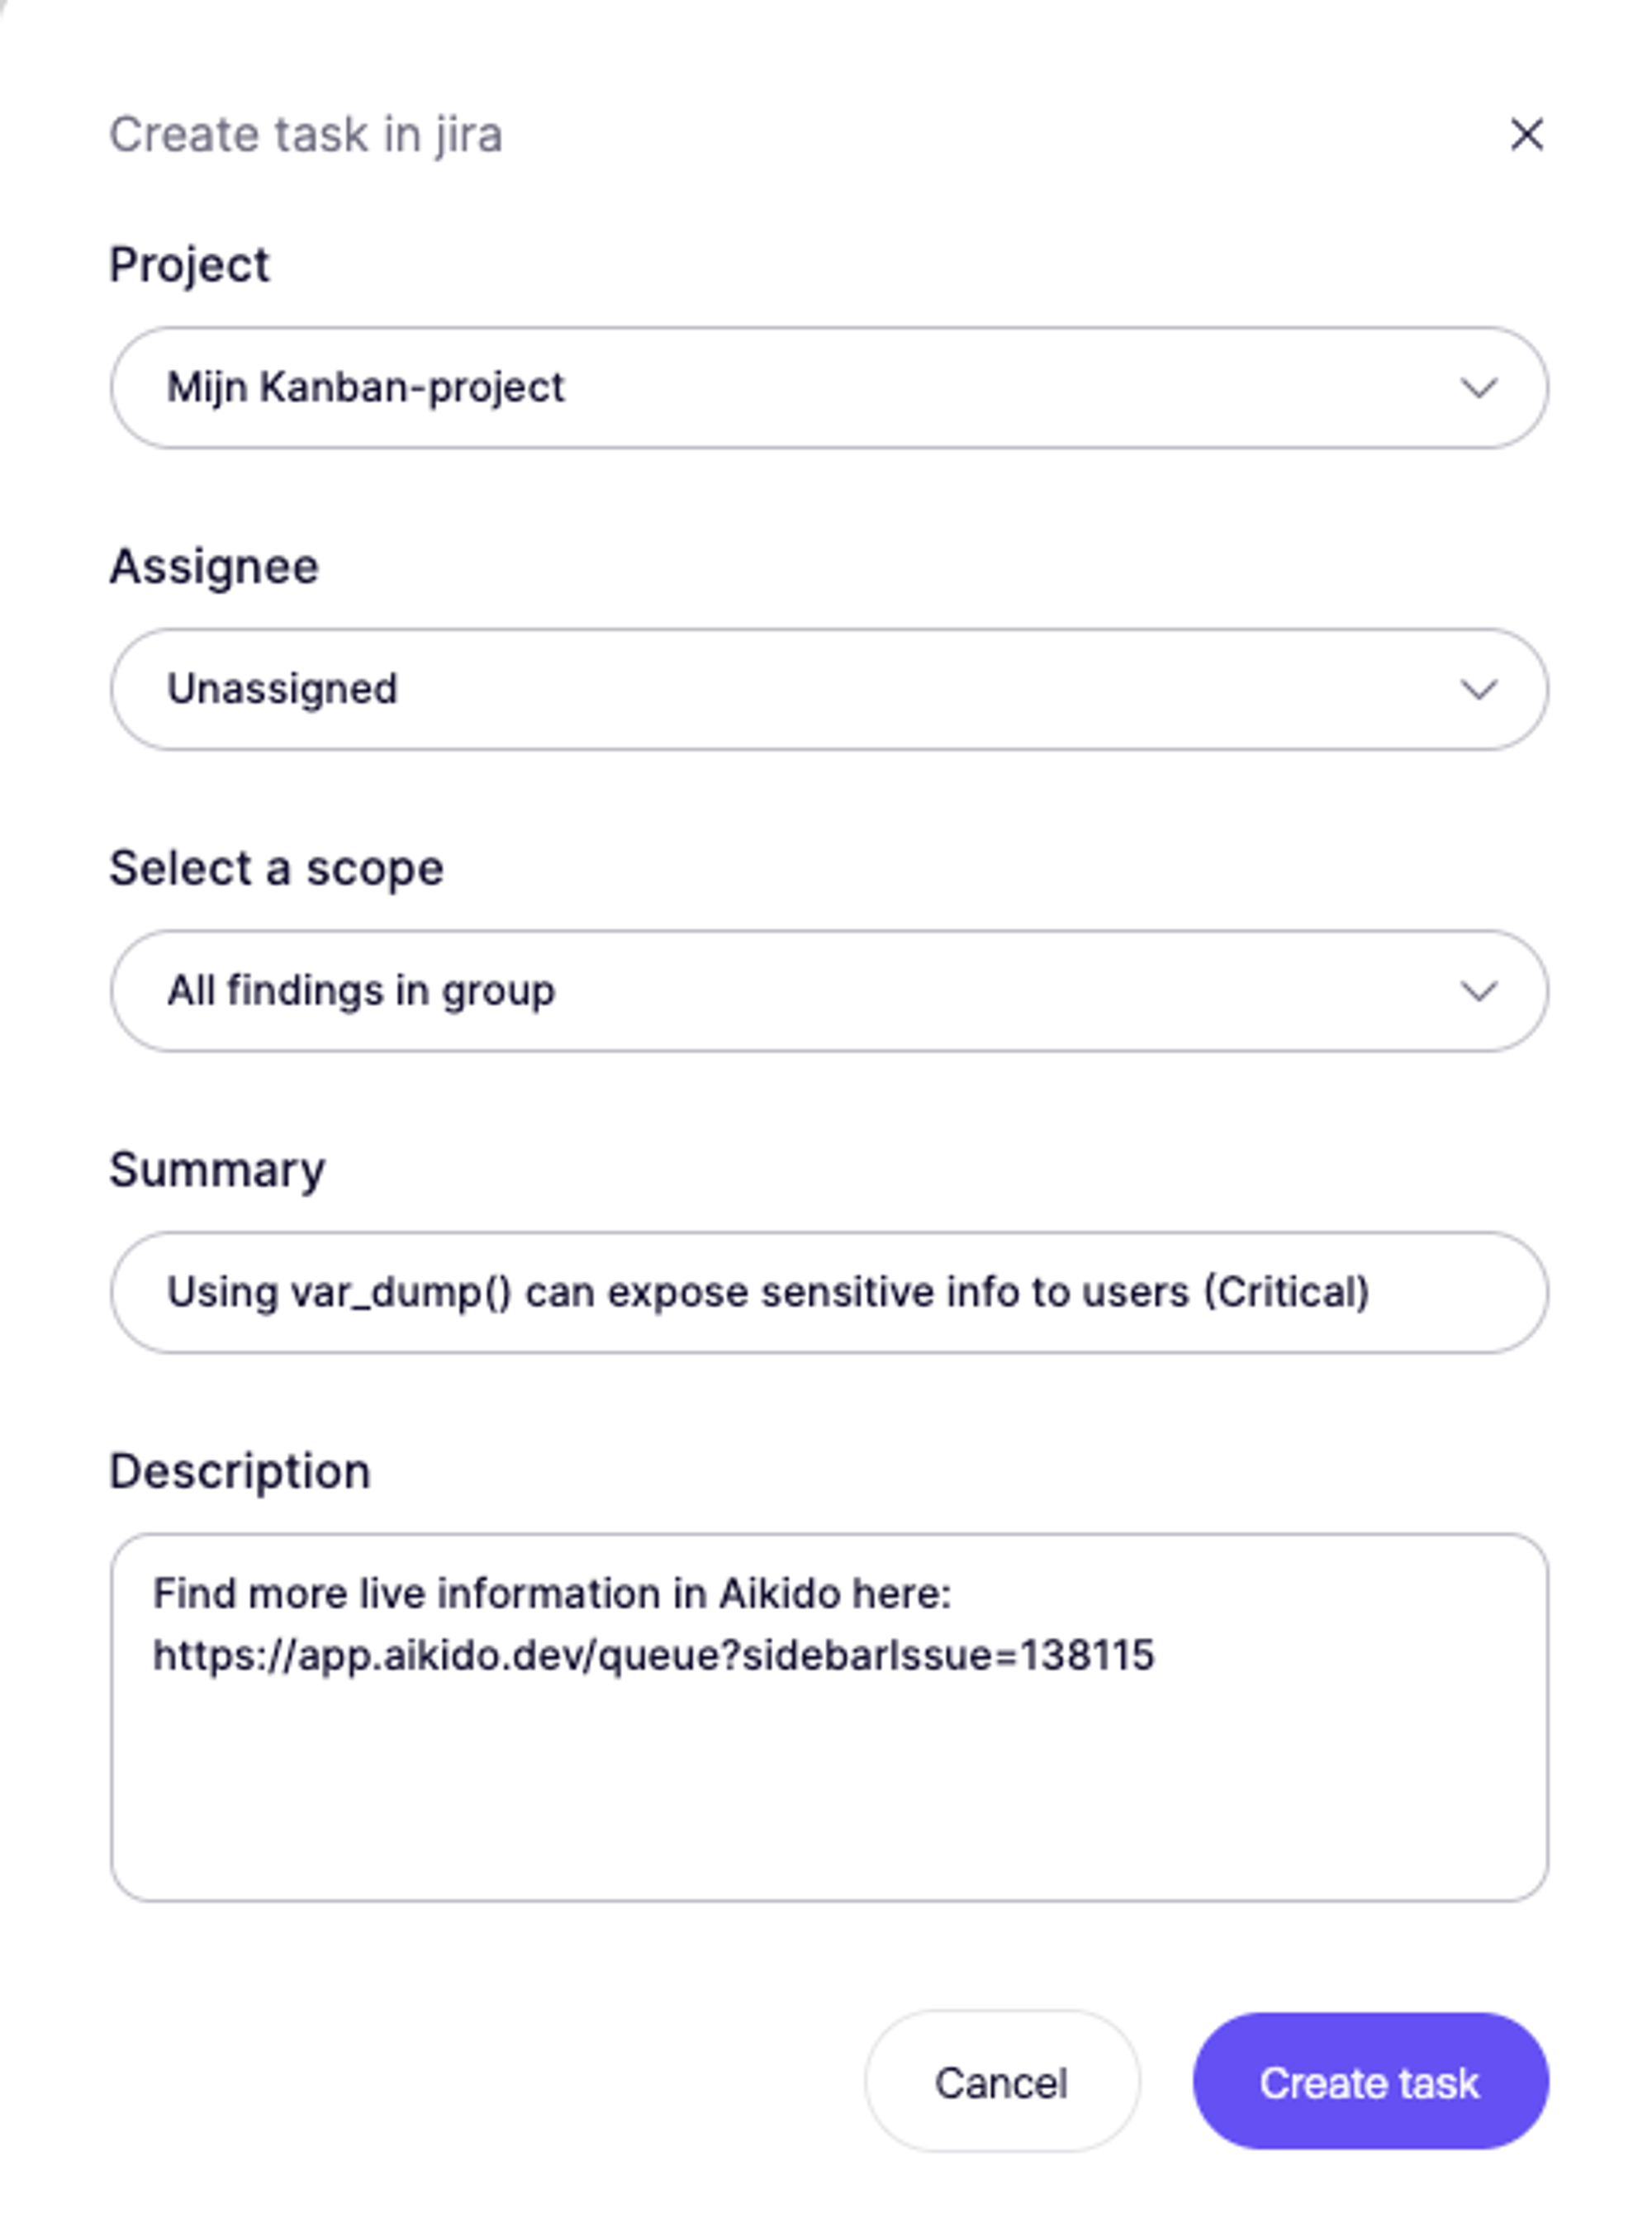
Fill in the required details in the popup modal.
-
The newly created task in Jira will be linked in the Aikido Issue Detail under the 'Tasks' tab (sidepanel).

2. Automated Task Creation
Aikido will automatically create tasks every hour in bulk. There is at the moment no option to trigger this manually.
- Go to the Jira Integration settings
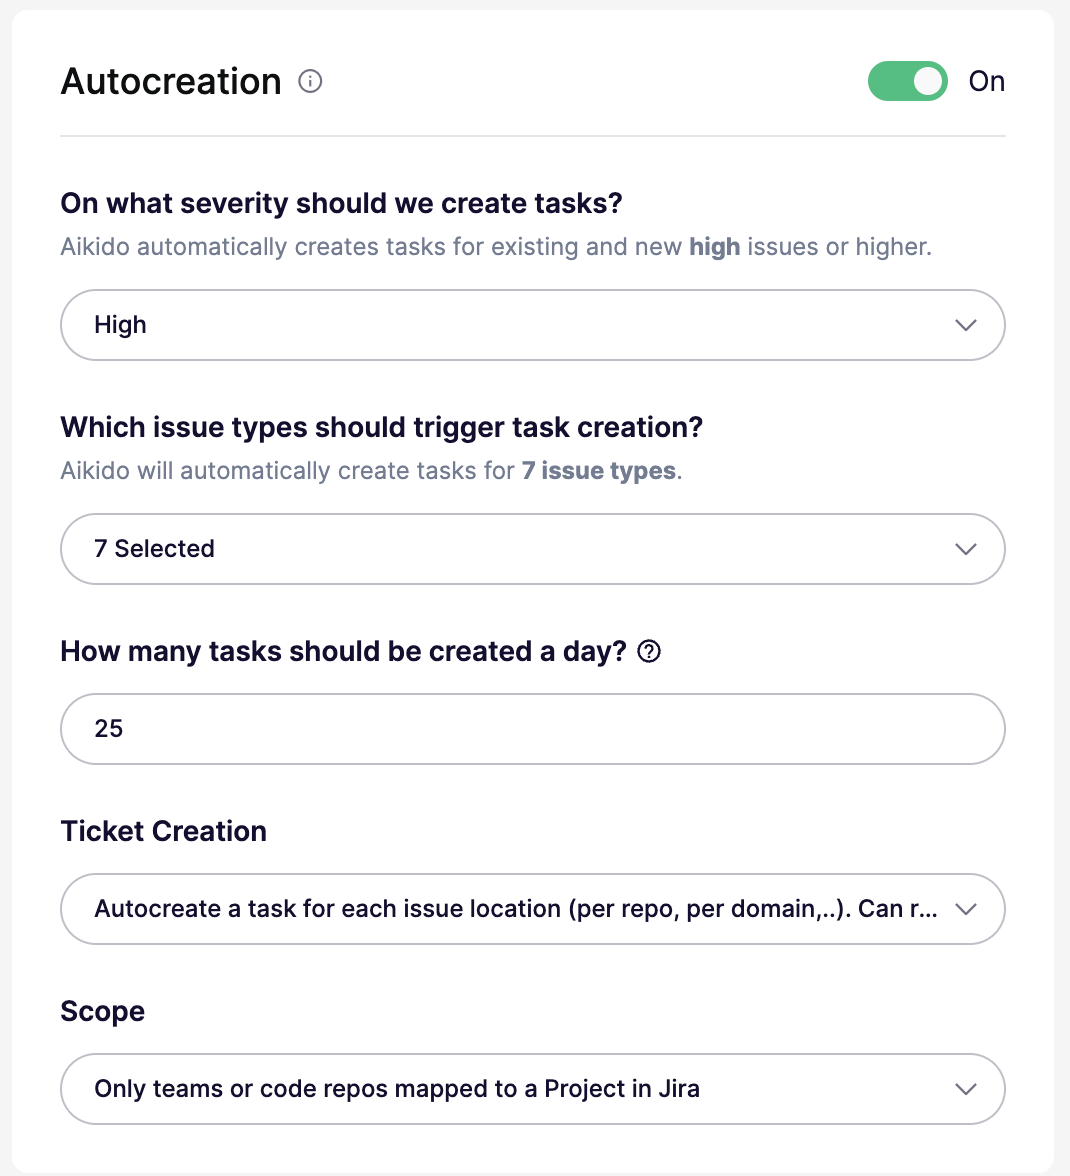
- Make sure to enable 'Autocreation' by clicking the toggle to On.
- Define the criteria for automatic task creation.
You can configure all of these settings in the autocreation modal:
- On/Off: Enable or disable autocreation. When off, the threshold is effectively set to
None. - Severity threshold: Create tickets for issues at
Critical,High,Medium, orLowand above. For example,Highcreates tickets forHighandCritical. - Issue types: Create tickets for all issue types, or limit them to specific types like
SCA,SAST,Secrets,Cloud,IaC,Malware, orLicense. - Daily limit: Set the maximum number of tickets created per day. The default is
25. Some plans support higher limits. - Ticket creation mode: Create one ticket per issue group, or create separate tickets per location or scope. Per-location mode can create more tickets.
- Scope: Available only in per-location mode. Target all repos or clouds, only mapped repos or teams, or specific repos or clouds with include and exclude lists.
- Aikido will then autonomously generate Jira tickets based on these settings 🚀